
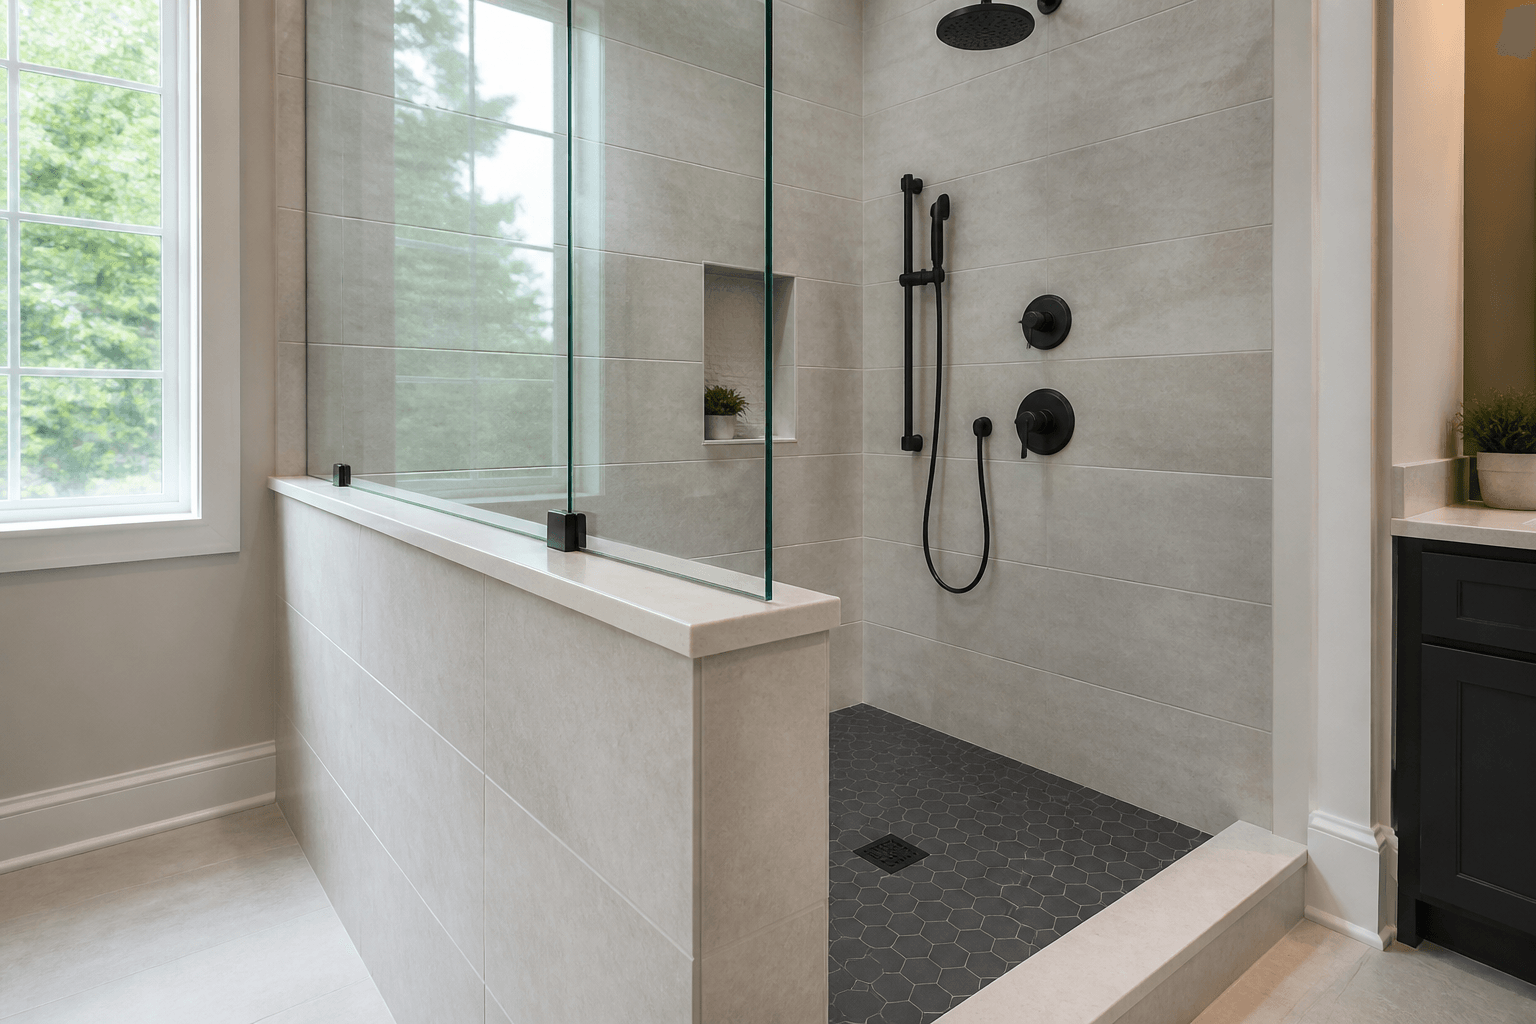
A pony wall for a glass shower should be rigid, properly waterproofed, aligned with the curb or shower edge, and finished with a cap that slopes slightly toward the shower. Its framing must support any glass hardware, while its height and position should be coordinated with the door, fixed panel, plumbing fixtures, and sightlines. Most importantly, plan the pony wall and glass as one system before framing and tile installation—not as separate parts of the bathroom project.
What role does a shower pony wall serve?
A pony wall, sometimes called a half wall or knee wall, is a short wall that separates part of the shower from the rest of the bathroom. Glass is commonly installed above it to preserve light and openness while the solid section provides privacy, conceals plumbing, or creates a boundary beside a vanity, toilet, or tub.
The wall may support a stationary glass panel, meet a swinging door, or form one side of a larger enclosure. Because these arrangements place different demands on the wall, the intended glass layout should be established early. A pony wall that looks appropriate on a floor plan can cause problems if it leaves a narrow door opening, conflicts with a handle, or puts hardware over an area without adequate structural support.
Plan the glass layout before framing the wall
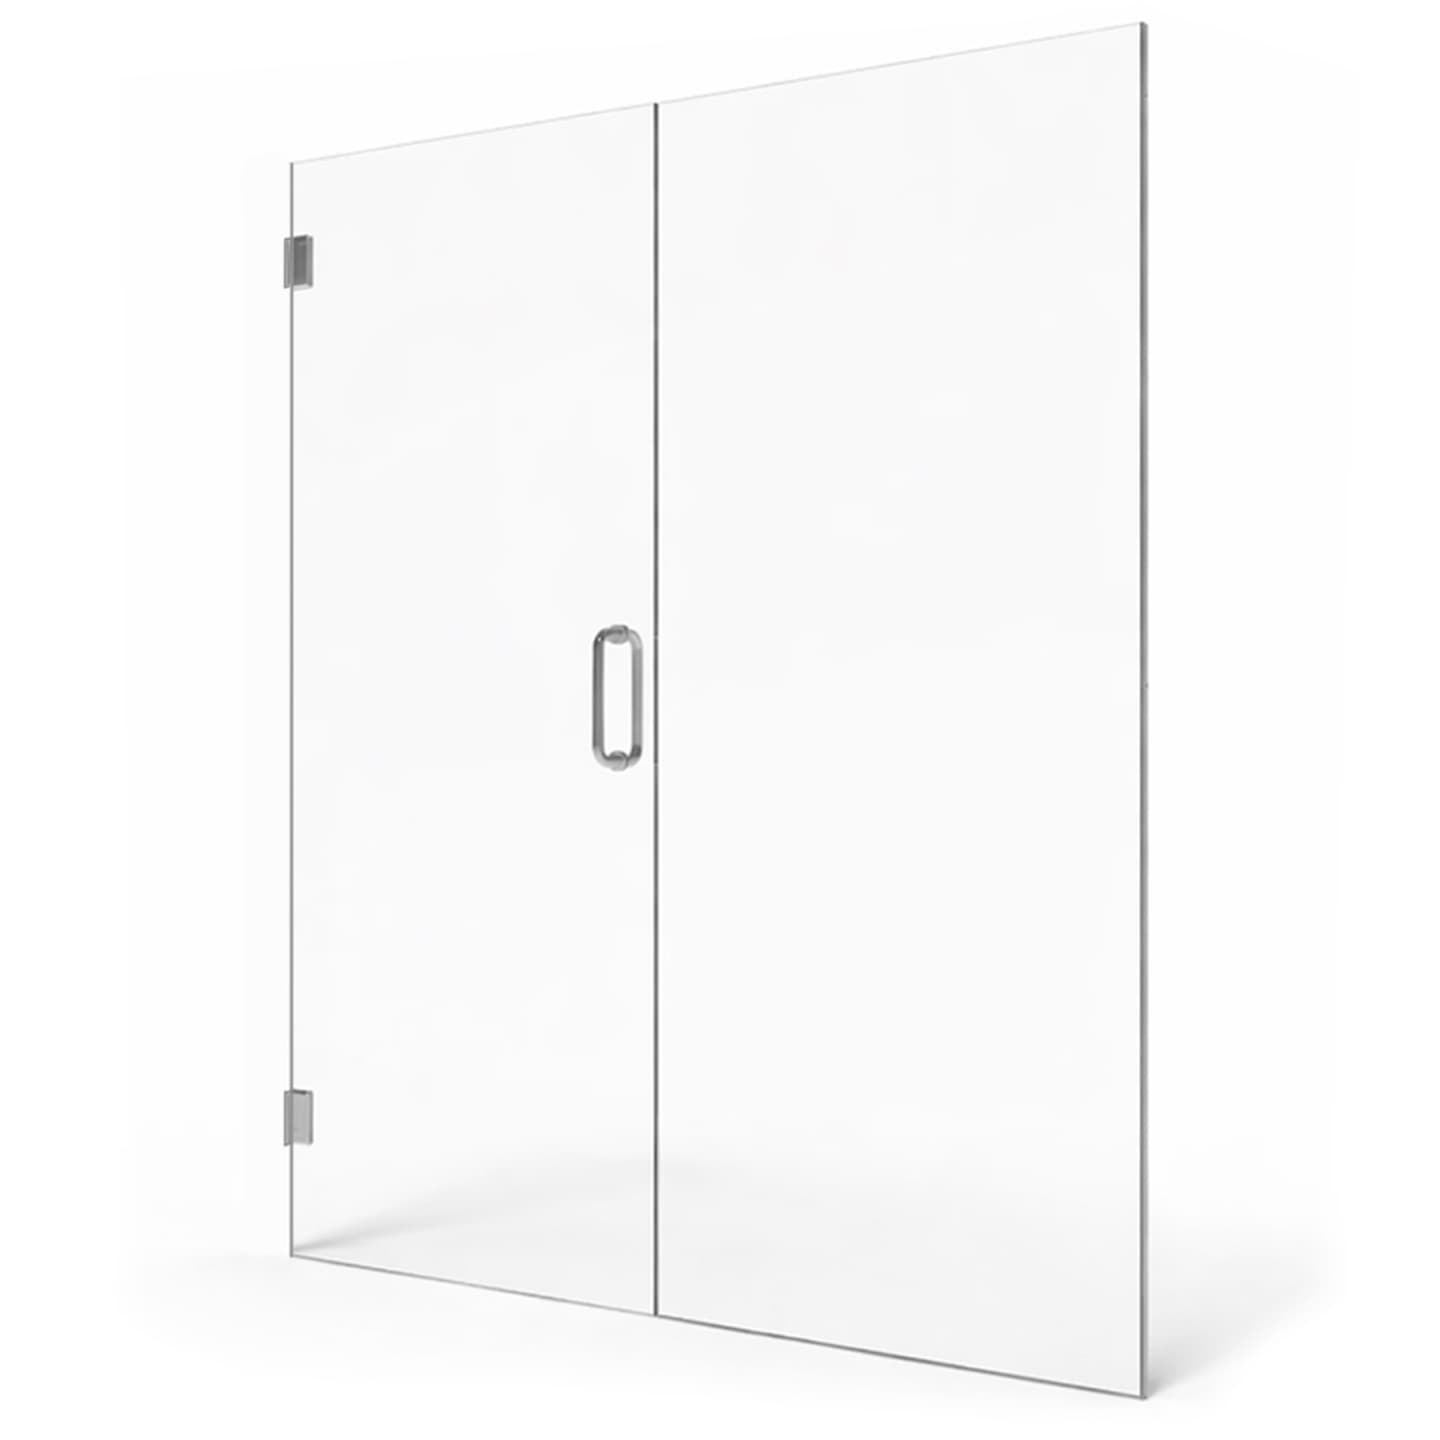
Start by identifying where the fixed glass, door, hinges, handle, and shower opening will be located. A swinging door needs adequate clearance from toilets, vanities, towel bars, and nearby walls. A fixed panel above the pony wall needs a clear path to the ceiling or adjacent wall, depending on the enclosure design.
Also consider how people will enter the shower and reach the controls. In some layouts, positioning the controls near the opening lets the user turn on the water without standing beneath the showerhead. Plumbing placement, however, must be coordinated with the framing and the planned glass attachment points.
- The finished width of the shower entrance
- Whether the door will swing inward, outward, or both, as allowed by the selected system and layout
- Where hinges, clamps, channels, or support hardware may attach
- The location of shower controls, body sprays, niches, and showerheads
- Whether the wall will conceal plumbing or sit beside a vanity or toilet
- How the curb, threshold, and pony wall will align after all finishes are installed
How tall should a shower pony wall be?
There is no single correct pony-wall height. The right dimension depends on the desired privacy, surrounding fixtures, tile pattern, plumbing, and proportions of the room. A wall beside a toilet may be designed higher for screening, while a wall used mainly to contain water may be lower to keep the shower visually open.
Choose the height based on finished surfaces rather than rough framing alone. The cap material, mortar, waterproofing, and tile assembly all affect the final elevation. It is also helpful to check where the top of the wall intersects the tile pattern. A deliberate alignment with a grout joint, niche, vanity backsplash, or other horizontal feature usually looks cleaner than an arbitrary stopping point.
Build a rigid, glass-ready structure
A pony wall must resist movement. Even slight flexing can stress tile, grout, sealant joints, and attached glass hardware. The wall should be securely tied into the floor and adjoining wall using framing appropriate for the structure. If hardware will attach to the pony wall, the framing contractor should provide solid backing at the planned attachment locations.
The wall should also be straight, plumb, and square to the shower edge. Glass is fabricated to precise field measurements, so bowed framing or an out-of-square wall can complicate the finished installation. Custom glass can accommodate some real-world variation, but accurate construction produces cleaner gaps and hardware placement.
Do not order glass from framing dimensions or preliminary plans. Shower glass should generally be measured after the tile, curb, threshold, pony-wall cap, and other finished surfaces affecting the dimensions are complete. Shower Doors of Sarasota prefers to measure once the tile and waterproofing are fully cured, then fabricate and install the enclosure.
Waterproof the pony wall as part of the shower
Treat the pony wall as a wet-area assembly, not as an ordinary interior partition. The shower waterproofing should continue over its shower-facing side and across the top, with corners and transitions detailed according to the selected waterproofing system. Tile and grout provide the visible finish, but they should not be treated as the primary waterproofing layer.
The top surface is especially important because it receives direct spray and standing droplets. It should slope slightly toward the shower so water drains inward rather than toward the bathroom floor. The slope must be formed in the underlying assembly; setting a flat cap and trying to create drainage with sealant is not a reliable substitute.
No frameless glass enclosure is completely waterproof. Functional gaps are needed around doors and panels, and water behavior depends partly on showerhead direction, curb slope, and user habits. Good pony-wall design reduces avoidable exposure by directing water back into the shower and keeping high-volume spray away from openings.
Choose the pony-wall cap carefully
The cap creates the finished mounting surface beneath the glass. A single piece of stone, quartz, solid-surface material, or another shower-appropriate slab can reduce the number of grout joints on this horizontal area. Tile can also be used when properly detailed, but multiple joints create more areas that require cleaning and maintenance.
The cap should be wide enough to cover the finished wall assembly neatly, with its edges and overhangs considered before adjacent tile is set. Its centerline should align with the intended glass plane. If the cap, curb, and wall tile point to different glass locations, the enclosure can look visibly offset even when it functions correctly.
Coordinate hardware attachments and drilled openings
Drilling requirements depend on the glass system, wall construction, and hardware layout. Hinges, clamps, channels, and other components may require attachment through finished tile or the pony-wall cap. Because tempered glass is fabricated for the final opening, hardware locations and glass dimensions must be finalized before tempering; tempered glass cannot simply be trimmed on site if the pony wall changes later.
Drilled attachment points deserve careful preparation because they may be exposed to moisture. Shower Doors of Sarasota uses its DoubleSil layered sealing and anchoring process at applicable drilled shower-glass hardware attachment points. It adds protection within the drilled opening before the anchor and fastener are installed, in addition to the visible exterior seal. DoubleSil is an added precaution, not a guarantee against every possible source of water intrusion.
Common pony-wall design mistakes to avoid
- Building the wall before deciding where the door and fixed panel will go
- Failing to provide solid framing where glass hardware may be mounted
- Installing a flat cap or sloping it toward the bathroom
- Measuring for glass before tile, caps, curbs, and thresholds are finished
- Allowing the pony wall and curb to fall on different centerlines
- Placing a showerhead so it sprays directly at a door gap or opening
- Choosing wall height without considering privacy, tile layout, or nearby fixtures
- Assuming glass or exterior sealant can correct an incomplete waterproofing assembly
Final planning checklist
Before tile installation, have the remodeler, waterproofing contractor, tile installer, plumber, and glass professional work from the same layout. Confirm the finished wall height, cap thickness and slope, glass centerline, door clearance, hardware backing, and fixture locations. That coordination is especially valuable in Suncoast homes, where frequent shower use, humidity, and hard-water deposits make drainage and cleanable surfaces practical priorities. Homeowners in Sarasota and surrounding areas can request a free custom-glass quote from Shower Doors of Sarasota at /quote.
Key Takeaways
- Plan the pony wall and glass enclosure together before framing begins.
- Make the wall rigid, plumb, square, and properly backed for planned hardware.
- Continue the shower waterproofing across the wall and its top surface.
- Slope the pony-wall cap toward the shower to direct water inward.
- Align the cap, curb, and glass centerline for a clean finished appearance.
- Measure glass only after all surfaces affecting its dimensions are finished and cured.
Ready to Transform Your Bathroom?
Contact us for a free consultation on custom frameless shower doors, enclosures, and mirrors for your Sarasota home.
Frequently Asked Questions
Related Services
Suncoast Team
Sarasota's Trusted Shower Door Experts