
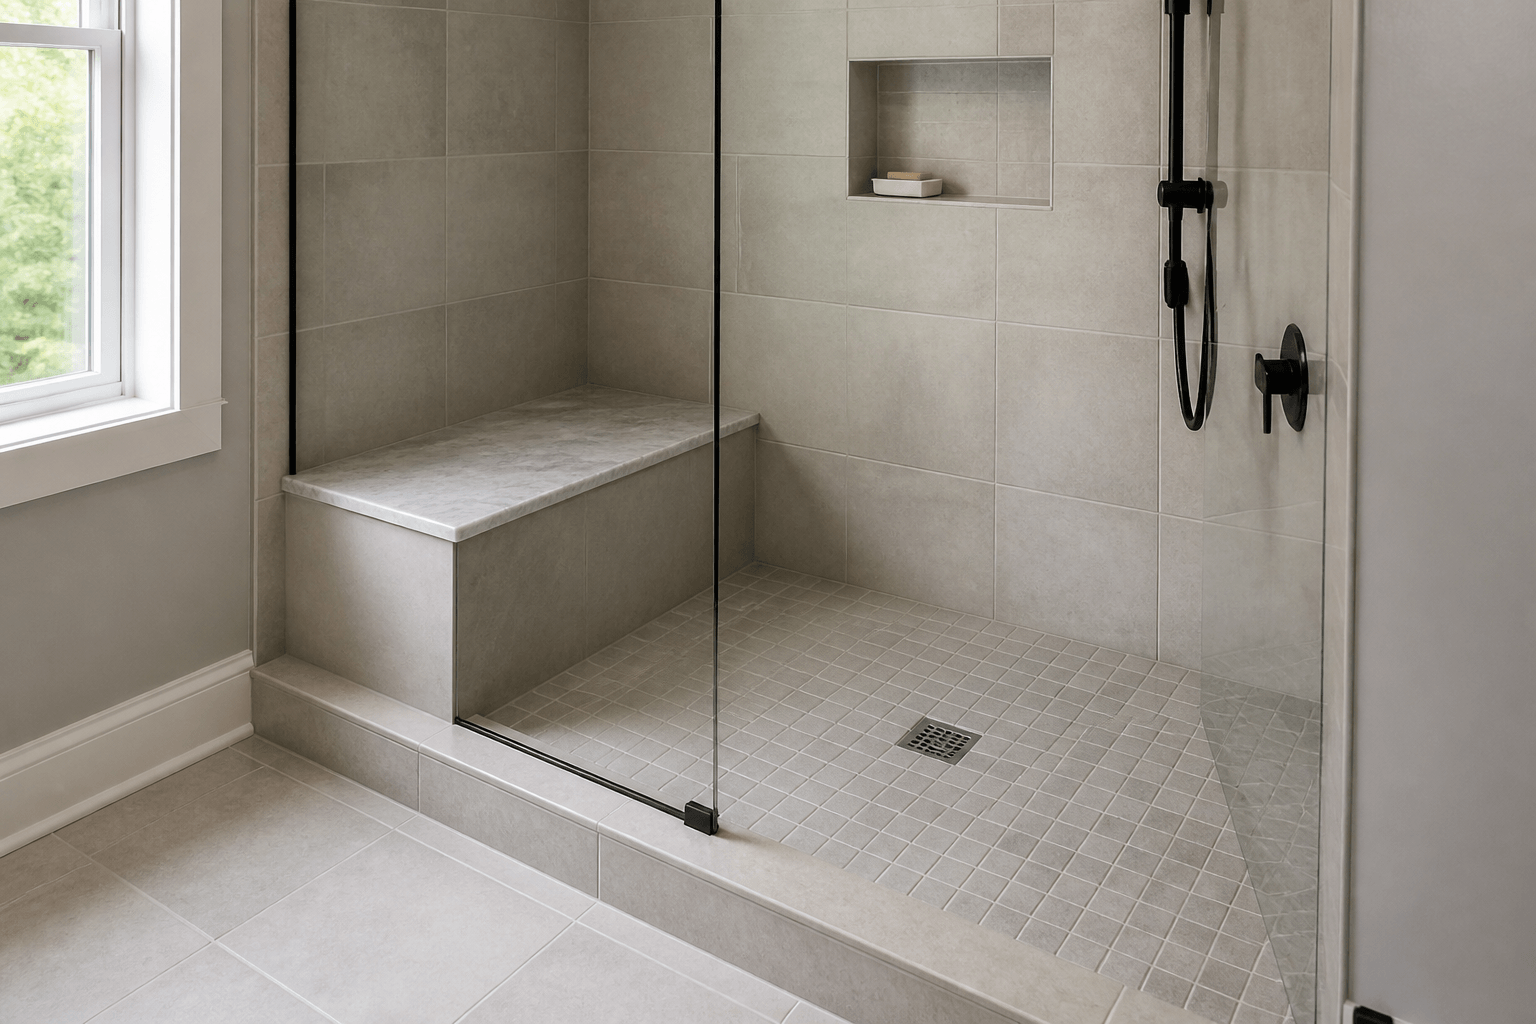
A shower bench does not have to end at the same line as the sill or curb. Aligning them often creates a cleaner appearance and simpler glass layout, but the critical relationship is between the finished bench, the curb, and the planned glass centerline. Before framing or tiling the bench, determine exactly where the fixed panel or door will sit, how water will drain, and whether any part of the bench will extend beyond the enclosed wet area.
What does “the same line” actually mean?
Homeowners, tile installers, and glass professionals may mean different things when they talk about lining up the bench and sill. One person may be referring to the outside faces, while another means the inside edges or the centerline where the glass will be installed. Those reference points can be several inches apart on a wide curb.
- The inside edge of the finished sill or curb, facing the shower floor
- The outside edge of the sill, facing the bathroom
- The intended glass centerline, which may fall near the middle of the sill but should be established for the specific enclosure
For shower-glass planning, the glass centerline is usually more important than whether two visible tile edges are perfectly flush. A bench can look aligned from the bathroom while still creating an awkward glass connection if its framing, cap, or overhang conflicts with that centerline.
When does aligning the bench and sill work well?
Ending the bench at the same visual plane as the sill can make a shower feel intentional and balanced. It may also reduce complicated transitions where the glass meets the bench. This is especially useful when a fixed panel is designed to rise from the curb and continue over or alongside the bench.
- The bench and curb are part of one clearly defined shower footprint
- A fixed glass panel will follow a straight, uninterrupted line
- The tile design uses continuous grout lines or matching slab caps
- The bench would otherwise project into the bathroom without a functional reason
- A simple glass shape can avoid unnecessary notches or unusual hardware locations
A straight relationship does not automatically guarantee a simple installation. Finished tile thickness, curb caps, bench-top overhangs, wall conditions, and out-of-plumb surfaces can all affect the final glass dimensions. The layout should therefore be checked using finished dimensions rather than framing dimensions alone.
When should the bench stop short or extend farther?
There are valid reasons for the bench and sill not to align. A bench may stop short to preserve standing room, provide door clearance, or keep the glass panel independent of the seat. In a larger shower, the bench may extend farther because it forms a full-width seat or continues into a drying or storage area.
The main concern is a bench that crosses the glass line without a deliberate water-management plan. If part of the seat is inside the shower and part is outside, the bench top becomes a transition between wet and dry areas. Water can travel along the surface, around a glass-to-bench joint, or toward the bathroom side if the slope and glass details are poorly coordinated.
- The shower door needs more room to swing without striking the bench
- A stationary panel will end before the bench begins
- The bench is designed as a floating or corner seat rather than a full-depth structure
- The bathroom layout calls for a ledge or seat extending beyond the enclosure
- Accessibility or transfer needs dictate the bench dimensions and location
How does the glass enclosure affect the bench layout?
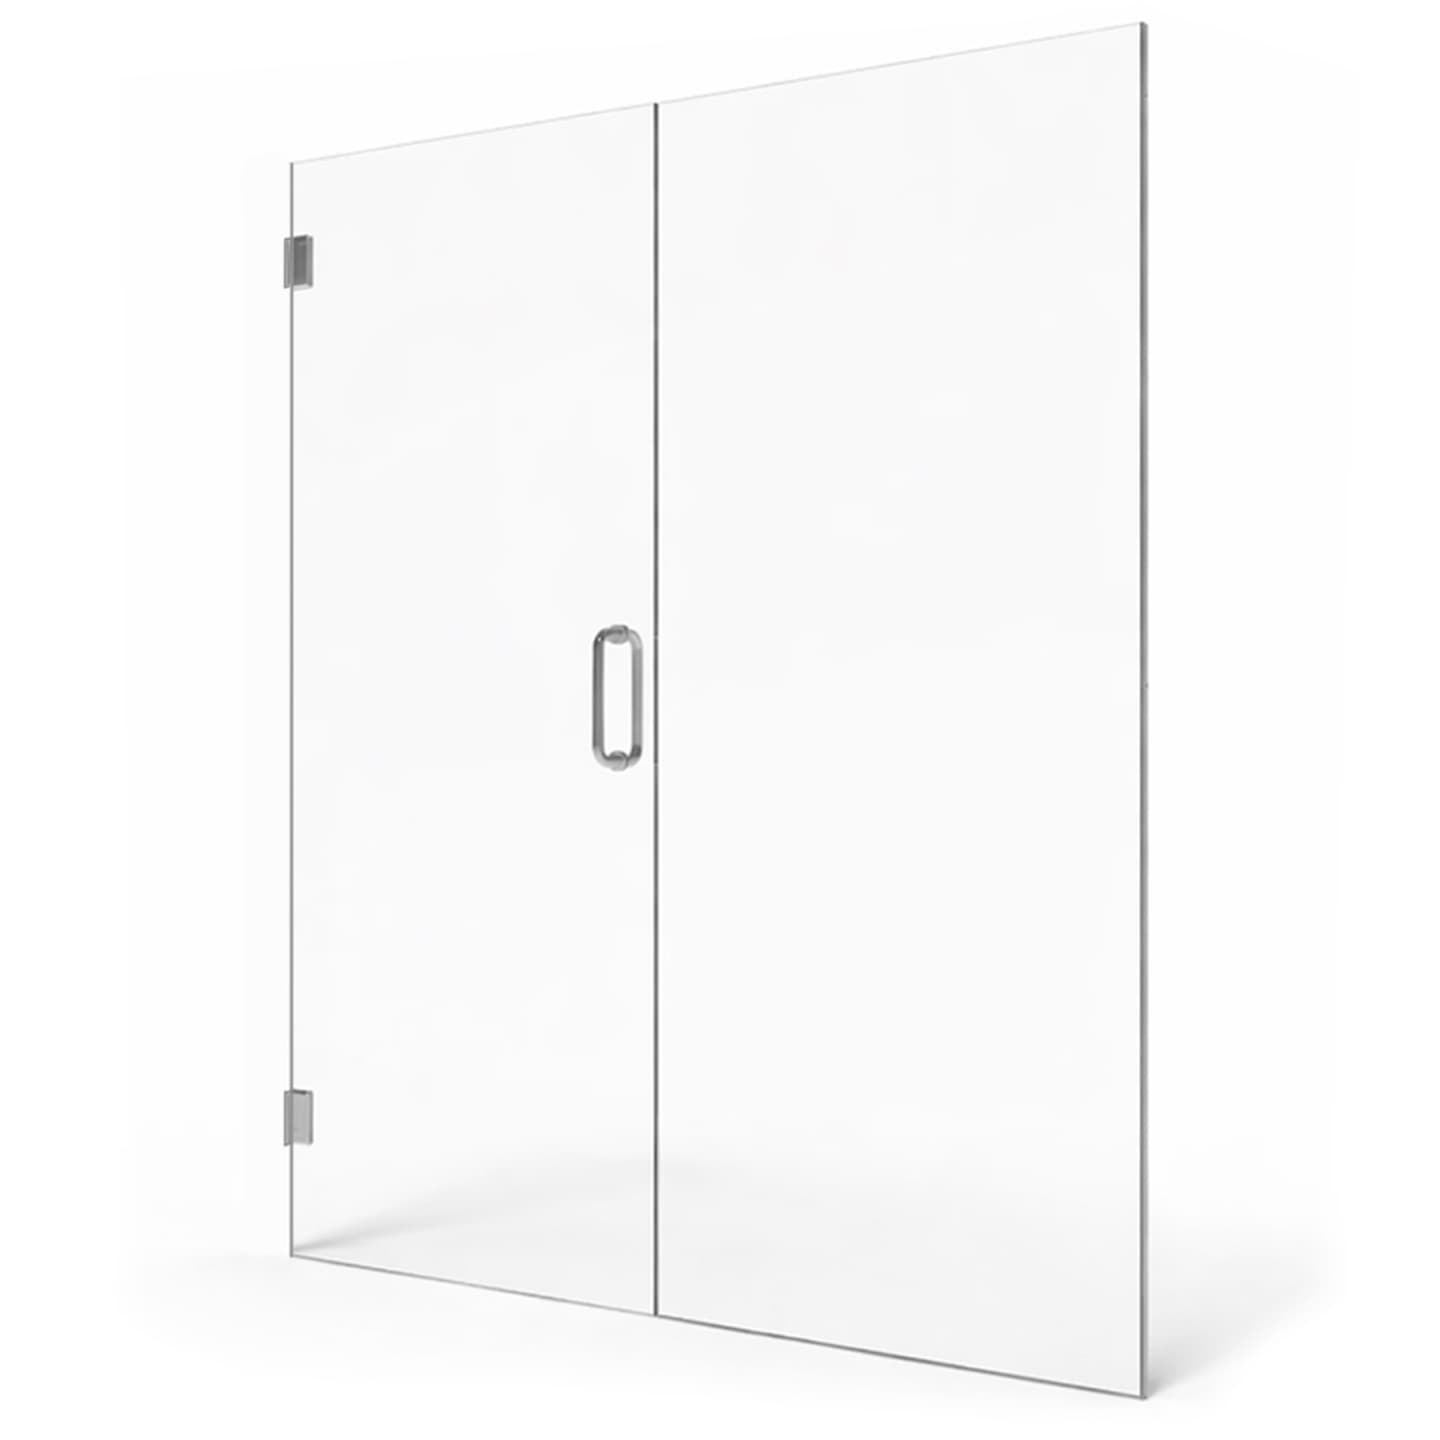
The enclosure type should be selected before the bench position is finalized. A swinging door requires adequate clearance, while a sliding system follows a different track and panel arrangement. A stationary panel may sit on the curb, on the bench, or beside the bench depending on the design. Each option creates different requirements for support, sealing, and hardware placement.
Glass is fabricated to the measured opening, and tempered glass cannot simply be trimmed at the job site if a bench or cap ends up in the wrong place. Complex shapes and notches must be planned accurately before fabrication. Keeping the glass line straightforward can reduce visual clutter and avoid details that are harder to clean, although the best configuration still depends on the room.
Drilled attachment points also deserve early attention. Hinges, clamps, channels, and other hardware may require drilling through finished tile or stone. Shower Doors of Sarasota uses its DoubleSil layered sealing and anchoring process at applicable drilled attachment points, adding protection within the drilled opening as well as at the visible exterior connection. This is an added precaution, but no frameless enclosure or installation method should be described as completely waterproof.
What drainage and waterproofing details matter?
The bench top should direct water back into the shower rather than toward the enclosure opening or bathroom floor. A slight, consistent slope toward the drain is commonly used; the exact assembly should follow the selected waterproofing system and applicable installation requirements. The surface should not be flat enough to hold puddles or slope outward toward the glass.
Waterproofing must also continue behind and beneath the finished bench surfaces. Tile and grout are finish materials, not the shower’s primary waterproofing layer. Corners, changes of plane, penetrations, and the transition between the bench and walls all need careful treatment by the contractors responsible for the shower assembly.
In Sarasota-area homes, regular exposure to moisture, hard-water deposits, and Florida humidity makes clean drainage especially valuable. A well-sloped bench dries more predictably and leaves fewer areas where mineral residue and soap buildup can collect.
When should the shower glass be measured?
Finalize the enclosure concept early, but perform the precise glass measurement after the tile, bench cap, curb or threshold, and other surfaces affecting the opening are finished and fully cured. Small changes in tile buildup or slab overhang can alter the required glass shape and hardware positions.
- The bench and sill are fully tiled or capped
- The bench top slopes into the shower
- The door swing or sliding path is unobstructed
- The intended glass centerline is supported by the finished surfaces
- Plumbing fixtures will not interfere with the door, handle, or fixed panel
- Any bench extension beyond the glass has a deliberate drainage and waterproofing plan
The practical answer
Matching the bench end to the sill is a sound design choice when it supports a clean glass line and keeps the bench within the wet area, but it is not a universal rule. Plan from the enclosure inward: establish the glass centerline, check door and hardware clearance, then coordinate the bench, curb, tile, and waterproofing around that layout. Sarasota, Bradenton, Lakewood Ranch, Venice, and nearby Suncoast homeowners can request a free project quote from Shower Doors of Sarasota at /quote once the proposed shower layout is ready to review.
Key Takeaways
- The bench and sill do not have to end on the same line.
- The planned glass centerline matters more than matching visible tile edges.
- Avoid letting a bench cross the wet-to-dry glass line without a drainage plan.
- Slope the bench top toward the shower interior and drain.
- Complete and cure tile, caps, and thresholds before final glass measurement.
- Confirm door clearance and hardware locations before framing or tiling the bench.
Ready to Transform Your Bathroom?
Contact us for a free consultation on custom frameless shower doors, enclosures, and mirrors for your Sarasota home.
Frequently Asked Questions
Related Services
Suncoast Team
Sarasota's Trusted Shower Door Experts