
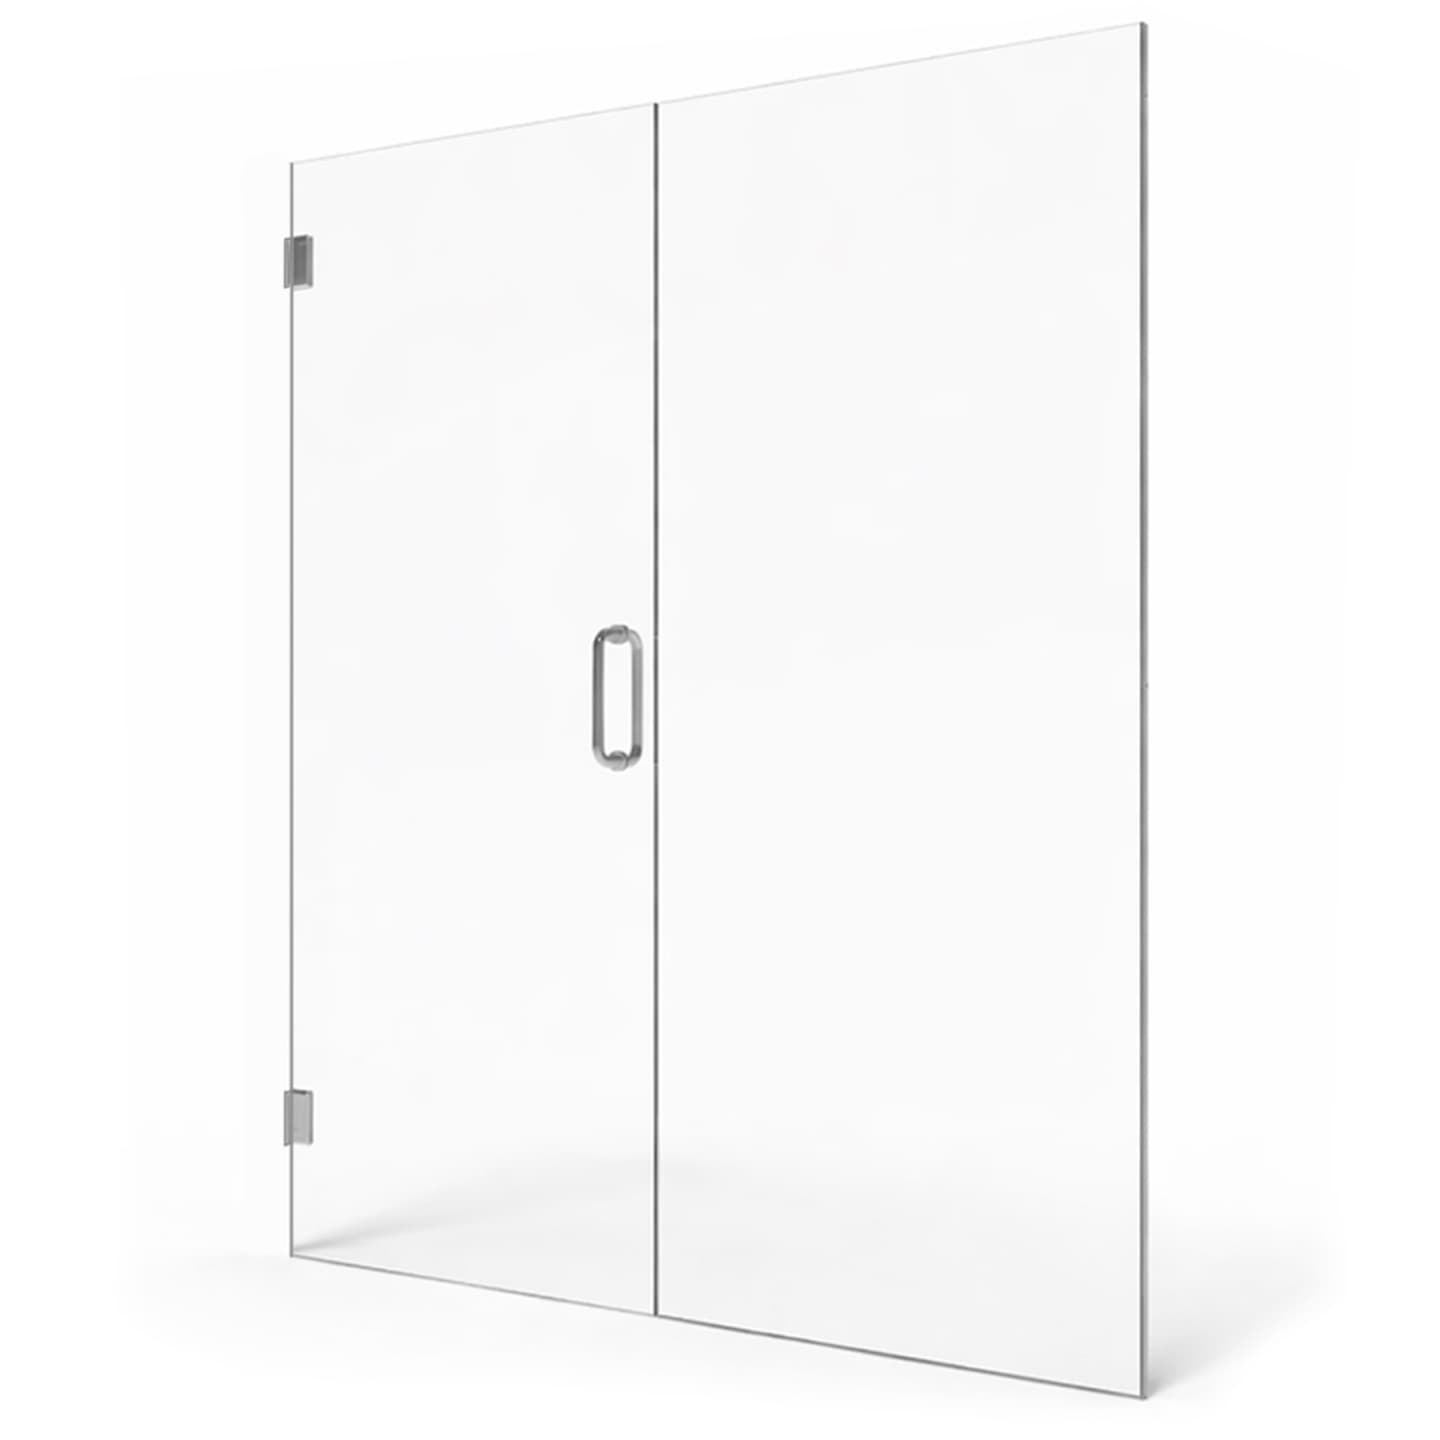

A curbless shower keeps water in by combining a properly sloped floor, well-placed drain, continuous waterproofing, controlled spray direction, and enough glass coverage. The shower floor should slope consistently toward the drain without low spots, while the entry should sit outside the direct spray path. Fixed panels or a door can add containment, but the underlying waterproofing and drainage plan must do most of the work because no frameless glass enclosure is completely waterproof.
Start With the Drainage Plane, Not the Glass
The most important part of a curbless shower is the floor beneath your feet. Without a raised curb, the shower floor and nearby bathroom floor must be planned as one coordinated surface. The shower area needs a continuous slope toward the drain, and the entry cannot contain a ridge, dip, or flat section where water can collect or escape.
A slope of about 1/4 inch per foot is common for shower floors, although the exact design must follow applicable building requirements and the specifications for the selected drain and waterproofing system. More slope is not automatically better: a steep or uneven floor can be uncomfortable, complicate tile installation, and create unstable footing.
- The distance from every shower corner to the drain
- The thickness and format of the finished tile
- The elevation of the bathroom floor outside the shower
- The drain manufacturer's installation requirements
- Transitions between the shower, dry-off area, and the rest of the bathroom
Where Should the Drain Go?
Both center drains and linear drains can work in a curbless shower. A center drain generally requires the floor to slope from several directions, creating multiple planes. This works naturally with smaller tile because the grout joints can follow those changes in slope. Large-format tile may require careful cuts to avoid lippage or drainage problems.
A linear drain can allow the shower floor to slope primarily in one direction. It is often placed along the back wall or near the shower entrance, depending on the room structure and waterproofing plan. A back-wall drain pulls water away from the opening when the floor slopes into the shower. An entry-side linear drain can intercept water near the transition, but it must be detailed carefully so it does not become the only defense against water leaving the enclosure.
Drain placement should also consider floor framing and plumbing access. Moving a drain or recessing a shower floor may affect joists or a concrete slab, so the layout should be coordinated before tile installation—not after the room is finished.
How Should the Showerhead Be Positioned?
Aim the primary spray toward a tiled wall or deeper into the shower, not toward the opening. A showerhead mounted opposite an open entrance is more likely to send water directly into the bathroom, even if the floor is sloped correctly. Body sprays and handheld showerheads need the same consideration because their spray direction can change during use.
Place controls where they can be reached without standing in the initial stream of cold water, but avoid putting them in a location that encourages users to point a handheld spray toward the opening. Ceiling-mounted rain heads can reduce direct sideways spray, although bouncing water can still travel beyond a short panel.
Use Glass to Block Splash, Not Fix Poor Drainage
Glass should reinforce a good drainage plan rather than compensate for a flat floor or badly aimed showerhead. A fixed panel or splash guard can block the most direct spray while preserving an open, walk-in appearance. For stronger containment, a swinging or sliding door may be more appropriate.
- The showerhead's distance from the opening
- The direction and pressure of the spray
- The height and length of the fixed panel
- The location of towel bars, vanities, toilets, and doorways
- Whether a swinging door has enough clearance
- How users will enter, turn, and reach the controls
A very short fixed panel may look clean but provide limited splash protection. Conversely, extending glass too far can make the entry narrow or interfere with comfortable movement. There is no single ideal panel length for every bathroom; the right coverage depends on the shower depth, spray location, drain position, and typical use.
Why Is Waterproofing Outside the Shower Important?
Tile and grout are finish materials, not the complete waterproofing system. A curbless shower needs a continuous waterproofing assembly beneath the tile, properly connected to the drain and carried through vulnerable transitions. Depending on the design and local requirements, waterproofing may also extend beyond the visible shower area to protect the entry and nearby bathroom floor.
Corners, changes of plane, wall-to-floor transitions, niches, benches, and plumbing penetrations all need careful detailing. The tile contractor and waterproofing-system manufacturer should establish how these areas will be prepared and tested. Glass attachment locations should then be coordinated so hardware does not undermine the completed assembly.
Shower Doors of Sarasota uses the DoubleSil layered sealing and anchoring process at applicable drilled shower-glass hardware attachment points. It adds protection within the drilled opening before the anchor and fastener are installed, along with the visible exterior seal. This is an added precaution, not a guarantee against every possible source of water intrusion.
Plan the Entry as a Dry-Off Zone
Whenever space allows, create distance between the main spray area and the bathroom floor. A deeper shower gives airborne droplets and runoff more room to remain within the sloped area. The entry can then function as a transition or dry-off zone rather than sitting immediately beside the showerhead.
Bath mats should not be used to solve a recurring containment problem. If the area outside the shower regularly becomes soaked, review the spray direction, glass coverage, floor elevation, and drainage. Occasional droplets around a frameless opening are different from consistent water flow across the bathroom floor.
Coordinate the Glass After Tile Is Complete
Final glass dimensions should be taken after the tile, thresholds, and other finished surfaces affecting the enclosure are complete. Shower Doors of Sarasota generally measures once the tile and waterproofing are fully cured, then fabricates the enclosure to the finished opening. This sequence accounts for real wall angles, floor slopes, and out-of-plumb conditions that cannot be confirmed accurately from framing dimensions alone.
Homeowners planning a curbless shower in Sarasota, Bradenton, Lakewood Ranch, Venice, or nearby Suncoast communities can request a free shower-glass quote at /quote. For the best result, coordinate the glass layout with the tile, waterproofing, drain, and plumbing plans before construction begins.
Key Takeaways
- Slope the entire shower floor consistently toward the drain without flat areas or low spots.
- Direct showerheads and body sprays away from the curbless entry.
- Use fixed glass or a door to control splash, not to correct poor drainage.
- Continue waterproofing through vulnerable transitions and, where required, beyond the shower opening.
- Measure custom shower glass only after finished tile surfaces are complete and fully cured.
- Do not expect a frameless curbless enclosure to be completely waterproof.
Ready to Transform Your Bathroom?
Contact us for a free consultation on custom frameless shower doors, enclosures, and mirrors for your Sarasota home.
Frequently Asked Questions
Related Services
Suncoast Team
Sarasota's Trusted Shower Door Experts