
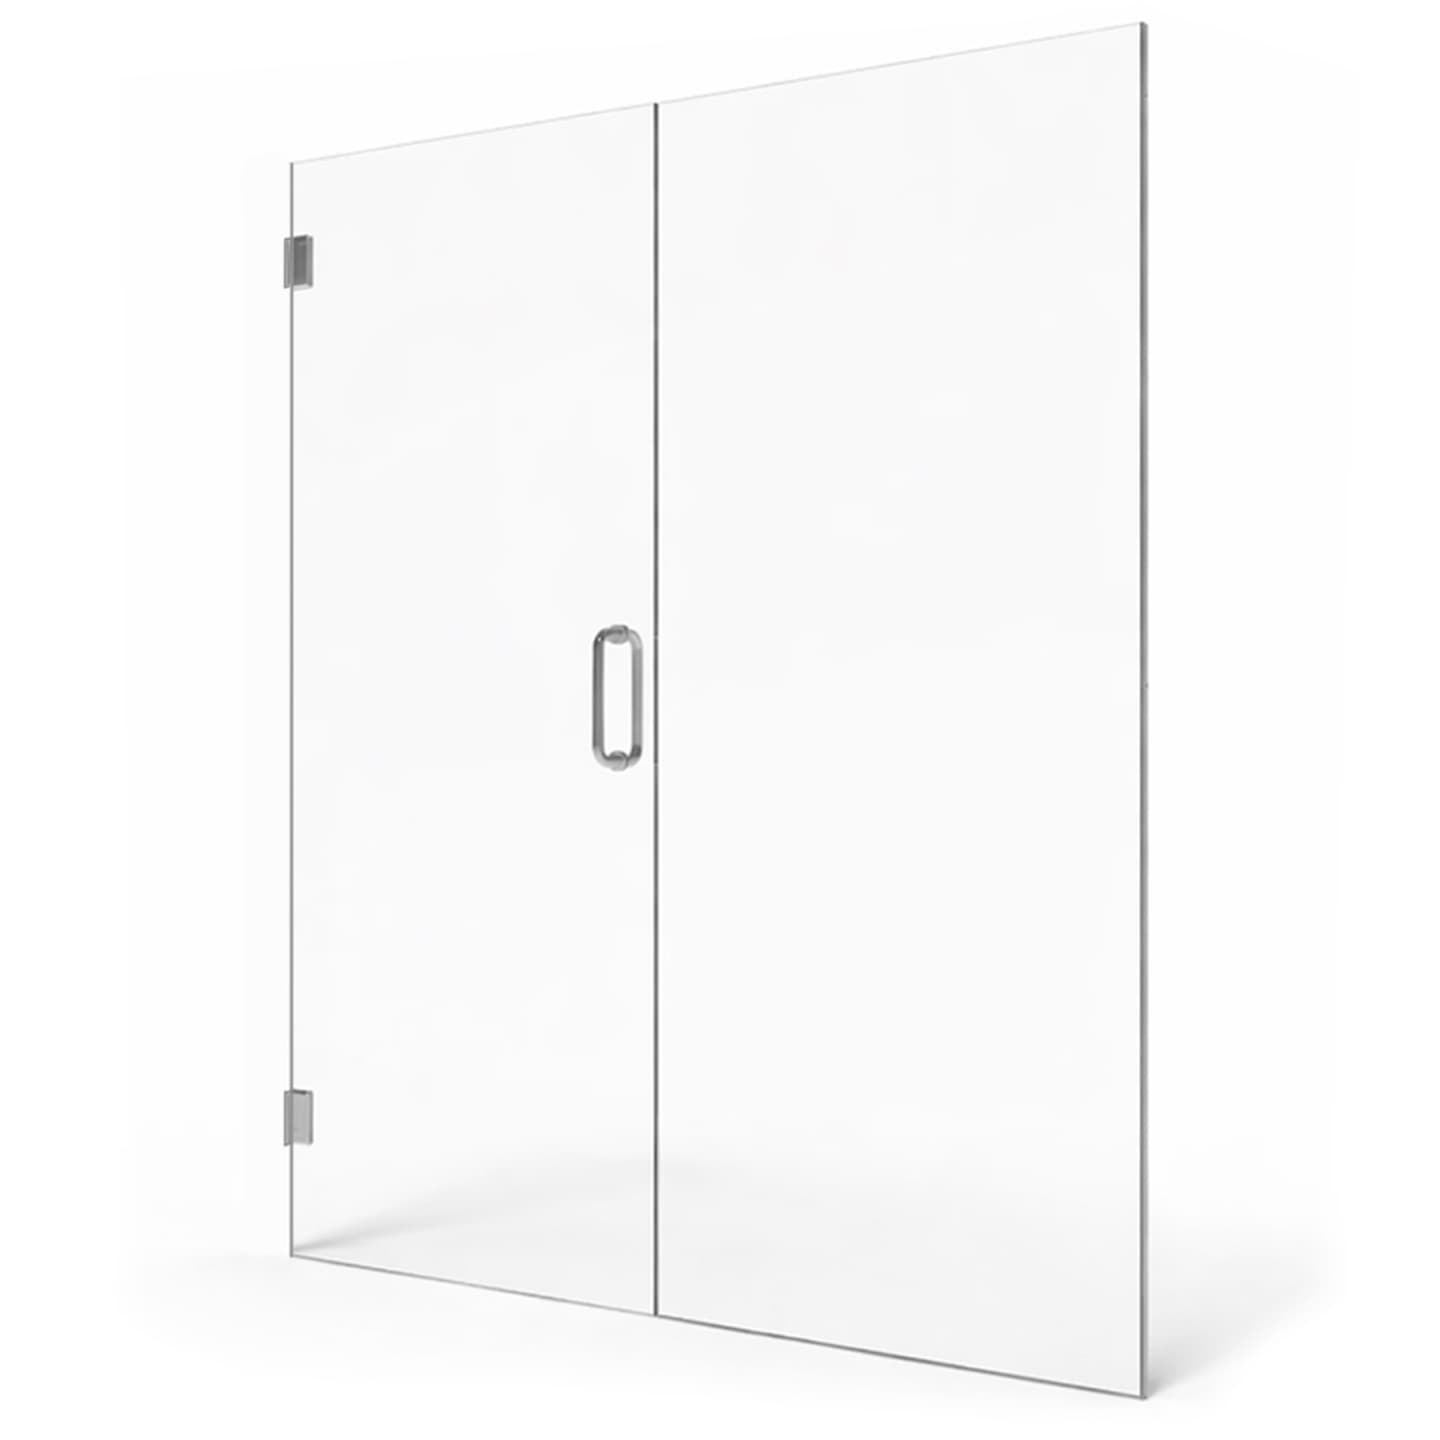
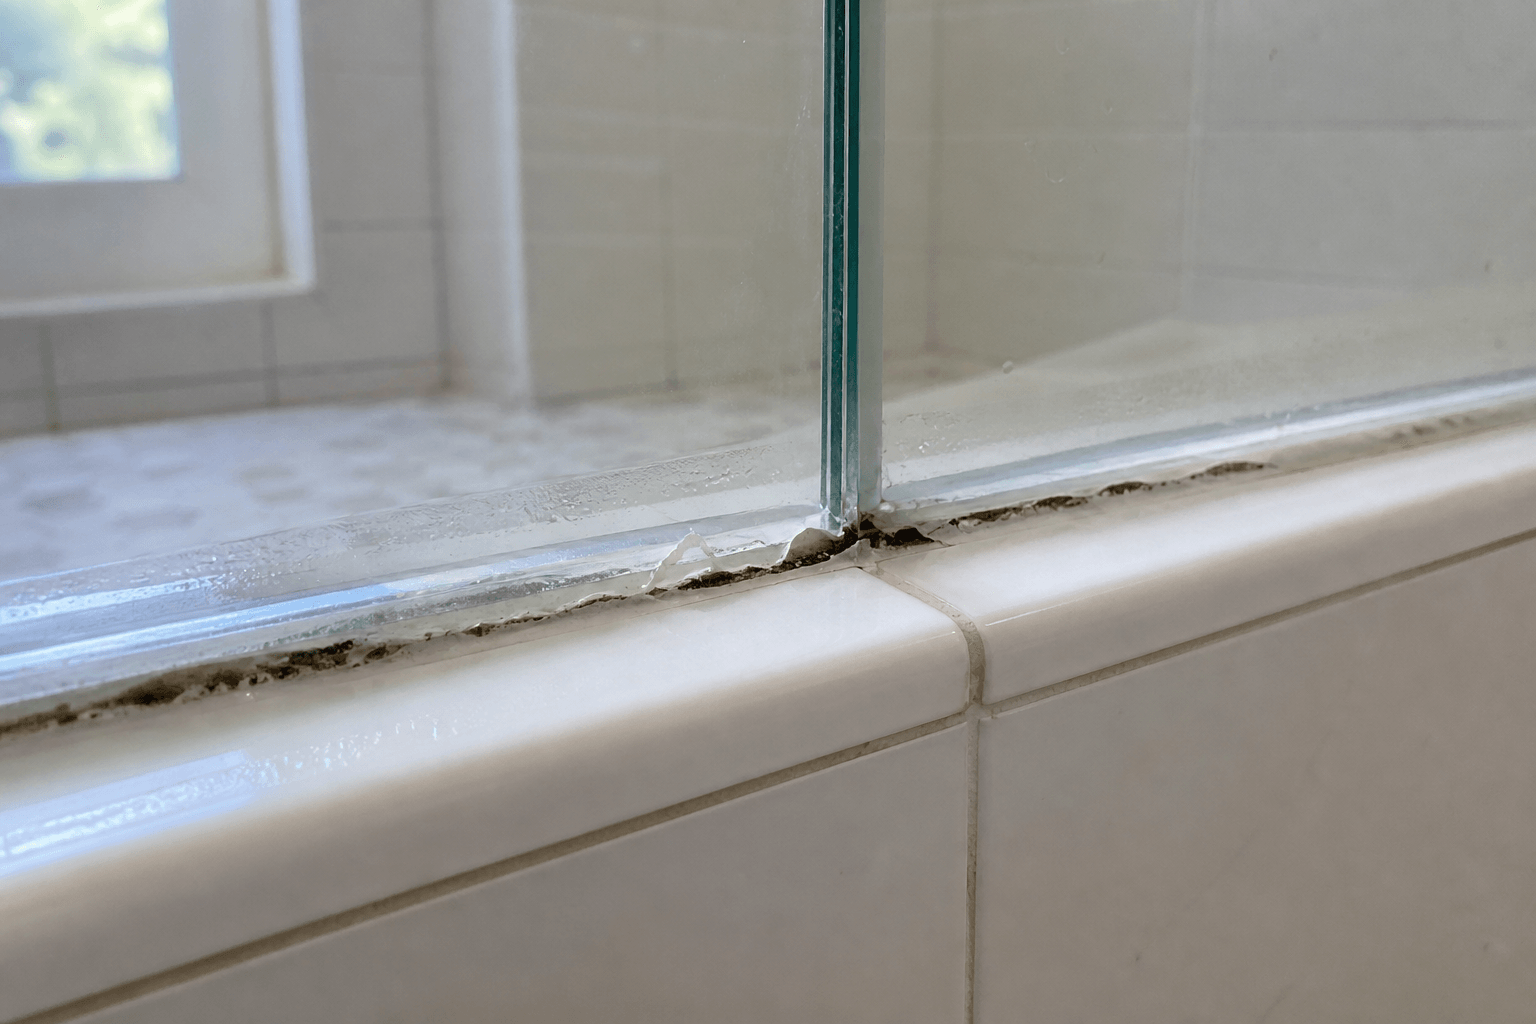
Replace the silicone around shower glass when it is peeling away, cracked, missing, persistently moldy within the sealant, or no longer preventing water from escaping at a sealed joint. There is no universal replacement schedule: well-applied silicone may remain serviceable for years, while movement, cleaning damage, poor adhesion, or constant moisture can cause earlier failure. If the silicone is firmly attached, flexible, cleanable, and keeping water where it belongs, replacement usually is not necessary.
What are the signs that shower silicone has failed?
A visual inspection often reveals a problem before it causes noticeable water damage. Look closely where fixed glass meets tile, where glass meets the curb or threshold, and around metal channels or other sealed perimeter connections. Check both the shower side and the bathroom side.
- Edges lifting or peeling away from the glass, tile, curb, or metal channel
- Cracks, splits, pinholes, or missing sections in the sealant bead
- Silicone that has become brittle, unusually hard, or crumbly
- Dark staining or mold that remains inside or beneath the silicone after normal cleaning
- Water consistently appearing outside a joint that is intended to be sealed
- A loose sealant bead that moves or pulls away with very light pressure
- Discoloration combined with loss of adhesion or deterioration
Surface mildew alone does not always mean the silicone has failed. If the sealant remains bonded and the discoloration can be cleaned without damaging it, replacement may not be needed. Mold that appears to be growing beneath the bead or embedded throughout it is harder to remove and often justifies replacement.
How often should the silicone be inspected?
Inspect shower glass silicone every few months and whenever you notice water outside the enclosure. A quick check during routine cleaning is usually enough. Pay extra attention to lower corners and horizontal joints, where water and soap residue tend to collect.
On the Florida Suncoast, humidity can keep bathrooms damp longer, particularly when ventilation is limited. Hard-water minerals and soap residue can also hide small gaps or deteriorated edges. Running the exhaust fan, allowing the shower to dry, and using a squeegee can make inspection easier and reduce the conditions that encourage mildew.
Does water outside the shower always mean bad silicone?
No. Water outside a shower enclosure can come from a failed sealed joint, but it can also escape through the functional gaps found around frameless doors and panels. Frameless shower enclosures are not completely waterproof. Door alignment, the direction of the showerhead, curb slope, worn sweeps or seals, and the shower layout all affect water containment.
Before assuming the silicone is the problem, dry the enclosure completely and run water in a controlled way. Observe where moisture first appears rather than where it eventually pools. Water can travel along a curb, channel, or grout line and show up several inches from its actual entry point.
- Water spraying directly at a door gap, hinge opening, or panel edge
- A worn or displaced bottom sweep on a swinging door
- A door that is no longer aligned correctly
- A curb or threshold that directs water toward the bathroom
- Splash escaping from a walk-in or doorless shower opening
- Deteriorated grout or another nearby bathroom joint
- Condensation collecting on the exterior of the glass or hardware
Do not simply add silicone over every opening. Some gaps are necessary for a door to move, and some shower systems include drainage paths that must remain open. Sealing the wrong location can trap water or interfere with the enclosure’s operation.
Why does silicone separate from glass or tile?
Silicone bonds best to clean, dry, compatible surfaces. It may separate if it was applied over soap film, mineral deposits, moisture, old sealant residue, or an incompatible caulk. Movement between the glass, hardware, curb, and wall surfaces can also stress a bead over time.
Aggressive scrubbing and sharp tools may nick or lift the sealant edge. Cleaners can affect some sealants as well, so follow the enclosure installer’s and cleaning-product manufacturer’s guidance. Avoid scraping close to the silicone with razor blades or abrasive pads.
Can new silicone be applied over the old bead?
Applying fresh silicone over deteriorated silicone is generally a poor repair. The new material may not bond reliably to the old, contaminated surface, and covering the joint can conceal trapped moisture or mold. A lasting replacement normally requires complete removal of the failed material, careful cleaning, thorough drying, and application of a compatible sealant.
Removal must be done carefully around tempered glass, tile, stone, metal finishes, and waterproofed surfaces. A tool that slips can scratch a finish, damage a tile edge, or strike the glass. Homeowners who are unsure about the enclosure design or the intended seal locations should have a shower-glass professional evaluate it.
What should happen during silicone replacement?
The shower must be kept out of use while the old sealant is removed and the joint dries. All residue, soap film, and mineral buildup that could interfere with adhesion should be addressed without damaging surrounding materials. The replacement bead should be applied only at the appropriate joints and allowed to cure for the full period specified by the sealant manufacturer or installer before the shower is used.
If the glass or hardware moves, the door drags, or a fixed panel feels loose, silicone replacement alone is not the right starting point. Stop using the enclosure and arrange a professional inspection. Silicone is a sealant; it is not a substitute for proper anchoring, alignment, or structural support.
How can you help new silicone last?
- Use a squeegee after showering, especially along the bottom of fixed panels
- Run the bathroom exhaust fan and allow air to circulate after use
- Clean regularly with nonabrasive products suitable for the glass, hardware, tile, and sealant
- Avoid picking at sealant edges or using sharp tools near them
- Address door alignment, loose hardware, or recurring leaks promptly
- Keep intentional drainage openings and moving-door clearances free of added caulk
For recurring leaks or uncertainty about which joints should be sealed, an enclosure inspection is more useful than repeatedly adding caulk. Homeowners in Sarasota, Bradenton, Lakewood Ranch, Venice, and nearby Suncoast communities can request a free quote from Shower Doors of Sarasota at /quote.
Key Takeaways
- Replace silicone that is peeling, cracked, missing, deeply moldy, or leaking at a sealed joint.
- Service life depends on condition, installation, moisture, movement, and maintenance—not a fixed calendar date.
- Water outside the enclosure may come from door gaps, alignment, spray direction, or curb slope rather than failed silicone.
- Do not cover old silicone or seal intentional gaps and drainage paths.
- Loose glass or hardware requires professional evaluation, not a new bead of silicone.
Ready to Transform Your Bathroom?
Contact us for a free consultation on custom frameless shower doors, enclosures, and mirrors for your Sarasota home.
Frequently Asked Questions
Related Services
Suncoast Team
Sarasota's Trusted Shower Door Experts