
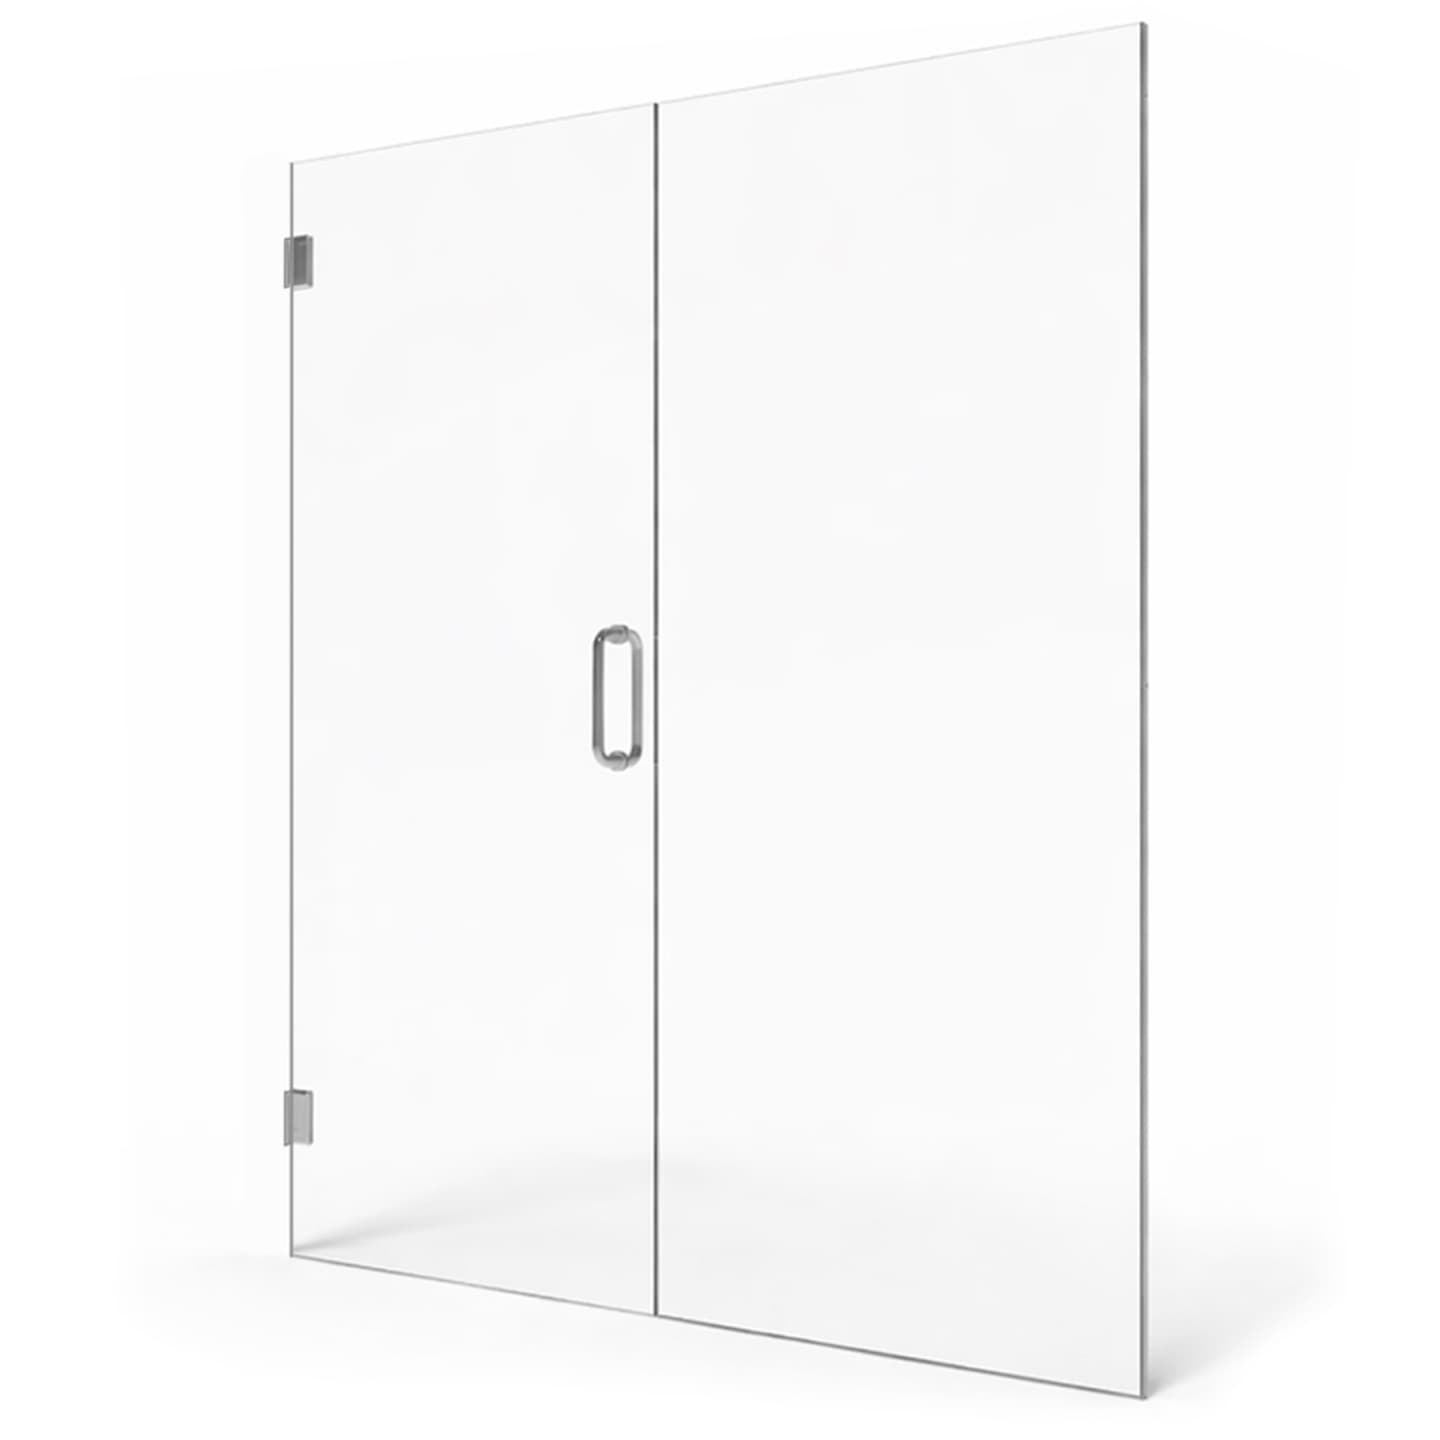
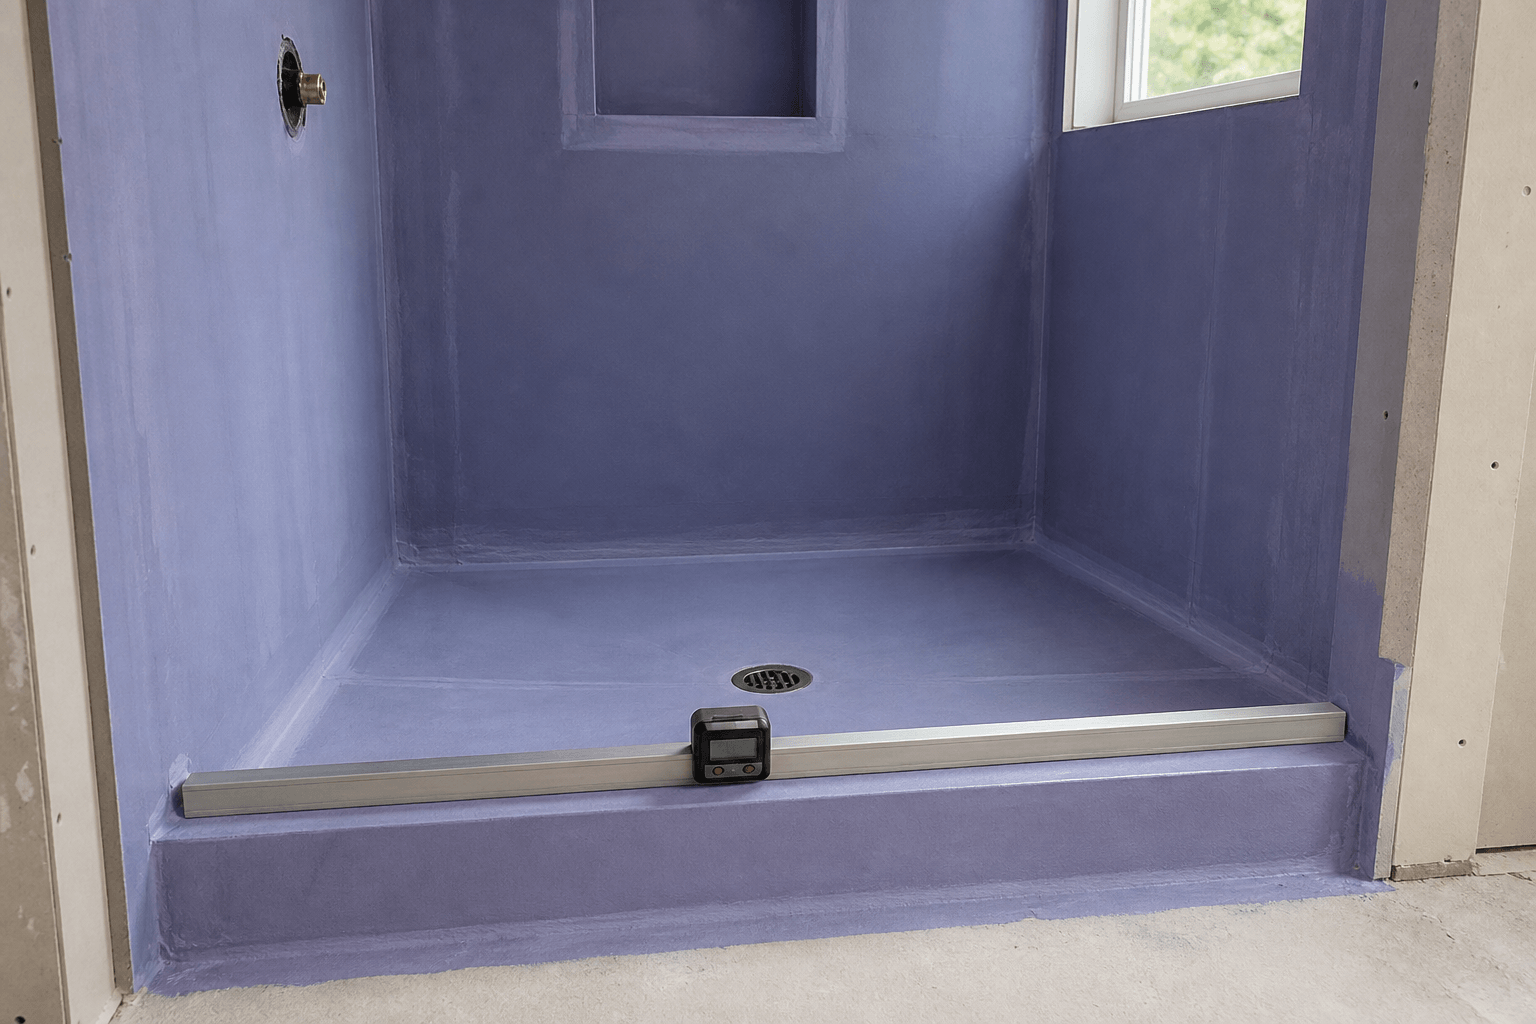
Before tile is installed, confirm that the shower curb slopes slightly inward toward the drain, stays straight and generally level from end to end, and matches the planned enclosure footprint. Check it with a short digital level or inclinometer placed across the curb, then use a long straightedge or laser along its length. A common drainage target is about 1/4 inch per foot, but the required assembly should follow the waterproofing system manufacturer’s instructions and applicable local requirements. Do not puncture or probe the waterproofing membrane while checking it.
What Does “Curb Angle” Actually Mean?
There are two different angles to verify. The first is the top slope, or pitch, running from the bathroom side toward the shower. This directs water back into the wet area instead of allowing it to sit against the glass or travel onto the bathroom floor.
The second is the curb’s plan-view direction. A standard rectangular shower usually has a straight curb meeting the walls at predictable corners. Neo-angle, corner, and other custom layouts may have multiple curb sections joined at specific angles. Those directional angles affect tile cuts, glass-panel dimensions, hardware positioning, and how cleanly the finished enclosure lines up.
How Much Inward Slope Should You Look For?
A commonly used drainage slope is approximately 1/4 inch of vertical drop per 12 inches of horizontal run. Because most curbs are only a few inches wide, the actual drop across the top is small. Across a 4 1/2-inch-wide curb, for example, a 1/4-inch-per-foot pitch equals slightly less than 1/10 inch of drop—roughly 3/32 inch.
That small difference can be difficult to judge by eye, especially on rough mortar or waterproofing. A standard bubble level may also be hard to interpret over such a short distance. A compact digital level or digital inclinometer gives a clearer reading. A 1/4-inch-per-foot slope is approximately 1.2 degrees.
- The top pitches toward the shower, not toward the bathroom.
- The curb is straight and generally level along its length unless the approved design specifically requires otherwise.
- The tile installer can preserve the inward pitch in the finished tile surface.
How Do You Check the Curb Before Tile?
First, identify the finished inside and outside edges of the curb. Place a clean, short digital level across the top, perpendicular to the curb’s length. Take readings near both ends and in the middle. Checking only one location can miss a hump, low spot, twist, or slope that changes direction.
Next, place a long straightedge along the curb from wall to wall. Look for rocking, gaps, bows, or raised joints. A laser can help verify end-to-end elevation and alignment, but it does not replace direct checks across the top. If the curb consists of multiple angled sections, measure each section independently.
- Measure the inward pitch at the left end, center, and right end.
- Check the entire curb length with a straightedge.
- Confirm that the curb does not twist from one end to the other.
- Compare angled curb sections with the approved floor plan or layout drawing.
- Verify that walls intended to receive fixed glass or hinges are plumb and properly prepared.
- Photograph the readings and overall layout before tile covers the substrate.
Why Must the Waterproofed Surface Be Checked?
The finished tile follows the surface beneath it. If the rough framing is sloped correctly but a later mortar, backer, or waterproofing layer creates a flat or outward-pitched top, the tile installer may not have enough room to correct it without compromising the assembly.
Ideally, the curb is checked during framing or substrate preparation and checked again after waterproofing. The second inspection confirms that the completed waterproofed surface still drains inward. Testing should be noninvasive: never drive a screw, nail, pin, or measuring probe through the curb membrane. Corrections should be made using methods approved for that waterproofing system.
Will the Tile Change the Final Angle?
Yes. Thinset mortar thickness, tile variation, stone thresholds, and installer adjustments can all change the final pitch. Before setting tile, the installer should understand that the finished curb surface—not merely the substrate—must slope inward. Large-format curb caps and solid thresholds are especially important to set correctly because one piece establishes most or all of the final drainage plane.
Also check how the curb cap will meet wall tile. Awkward buildup at either end can create a local reverse pitch or a low pocket where water collects. Grout and sealant should not be treated as substitutes for proper underlying geometry.
What About Angled or Neo-Angle Shower Curbs?
For a shower with diagonal curb sections, establish control lines on the subfloor or nearby protected surfaces before waterproofing and tile. Compare the curb’s centerlines, section lengths, and corner intersections with the intended enclosure layout. A framing square, adjustable bevel gauge, laser, or full-size cardboard template can help reveal an angle that is slightly open or closed.
Do not order glass from rough curb measurements. Tile and threshold finishes change opening dimensions and can slightly alter the effective angles. Shower glass should generally be measured after the tile, curb, thresholds, and other surfaces affecting glass dimensions are complete and fully cured. Final field measurements allow custom glass to account for the actual finished conditions.
Problems Worth Correcting Before Tile Begins
- Any outward pitch toward the bathroom floor
- A flat top with no planned method for establishing the finished inward slope
- Different slope directions at opposite ends of the curb
- A noticeable bow, dip, hump, or twist
- Angled curb sections that do not match the planned enclosure
- Damaged, loose, or punctured waterproofing
- Uncertainty about the finished curb cap thickness or placement
It is usually easier to correct curb geometry before tile is installed than to remove finished tile later. The curb’s pitch helps manage everyday water, but it does not make a shower enclosure completely waterproof. Frameless systems have functional gaps around doors and panels, so proper showerhead placement, drainage, curb design, and glass layout must work together.
Plan the Glass Around the Finished Shower
Early curb checks help prevent obvious layout problems, but final glass decisions should be based on finished surfaces. Homeowners in Sarasota, Bradenton, Lakewood Ranch, Venice, and nearby Suncoast communities can request a free Shower Doors of Sarasota quote at /quote once the project details are ready.
Key Takeaways
- Pitch the curb top inward toward the shower, never toward the bathroom.
- A common drainage slope is about 1/4 inch per foot, or roughly 1.2 degrees.
- Check the slope at both ends and the center because a curb can twist.
- Verify straightness and end-to-end elevation separately from inward pitch.
- Never puncture the waterproofing membrane to take a measurement.
- Measure custom shower glass after tile and other finished surfaces are complete and cured.
Ready to Transform Your Bathroom?
Contact us for a free consultation on custom frameless shower doors, enclosures, and mirrors for your Sarasota home.
Frequently Asked Questions
Related Services
Suncoast Team
Sarasota's Trusted Shower Door Experts