
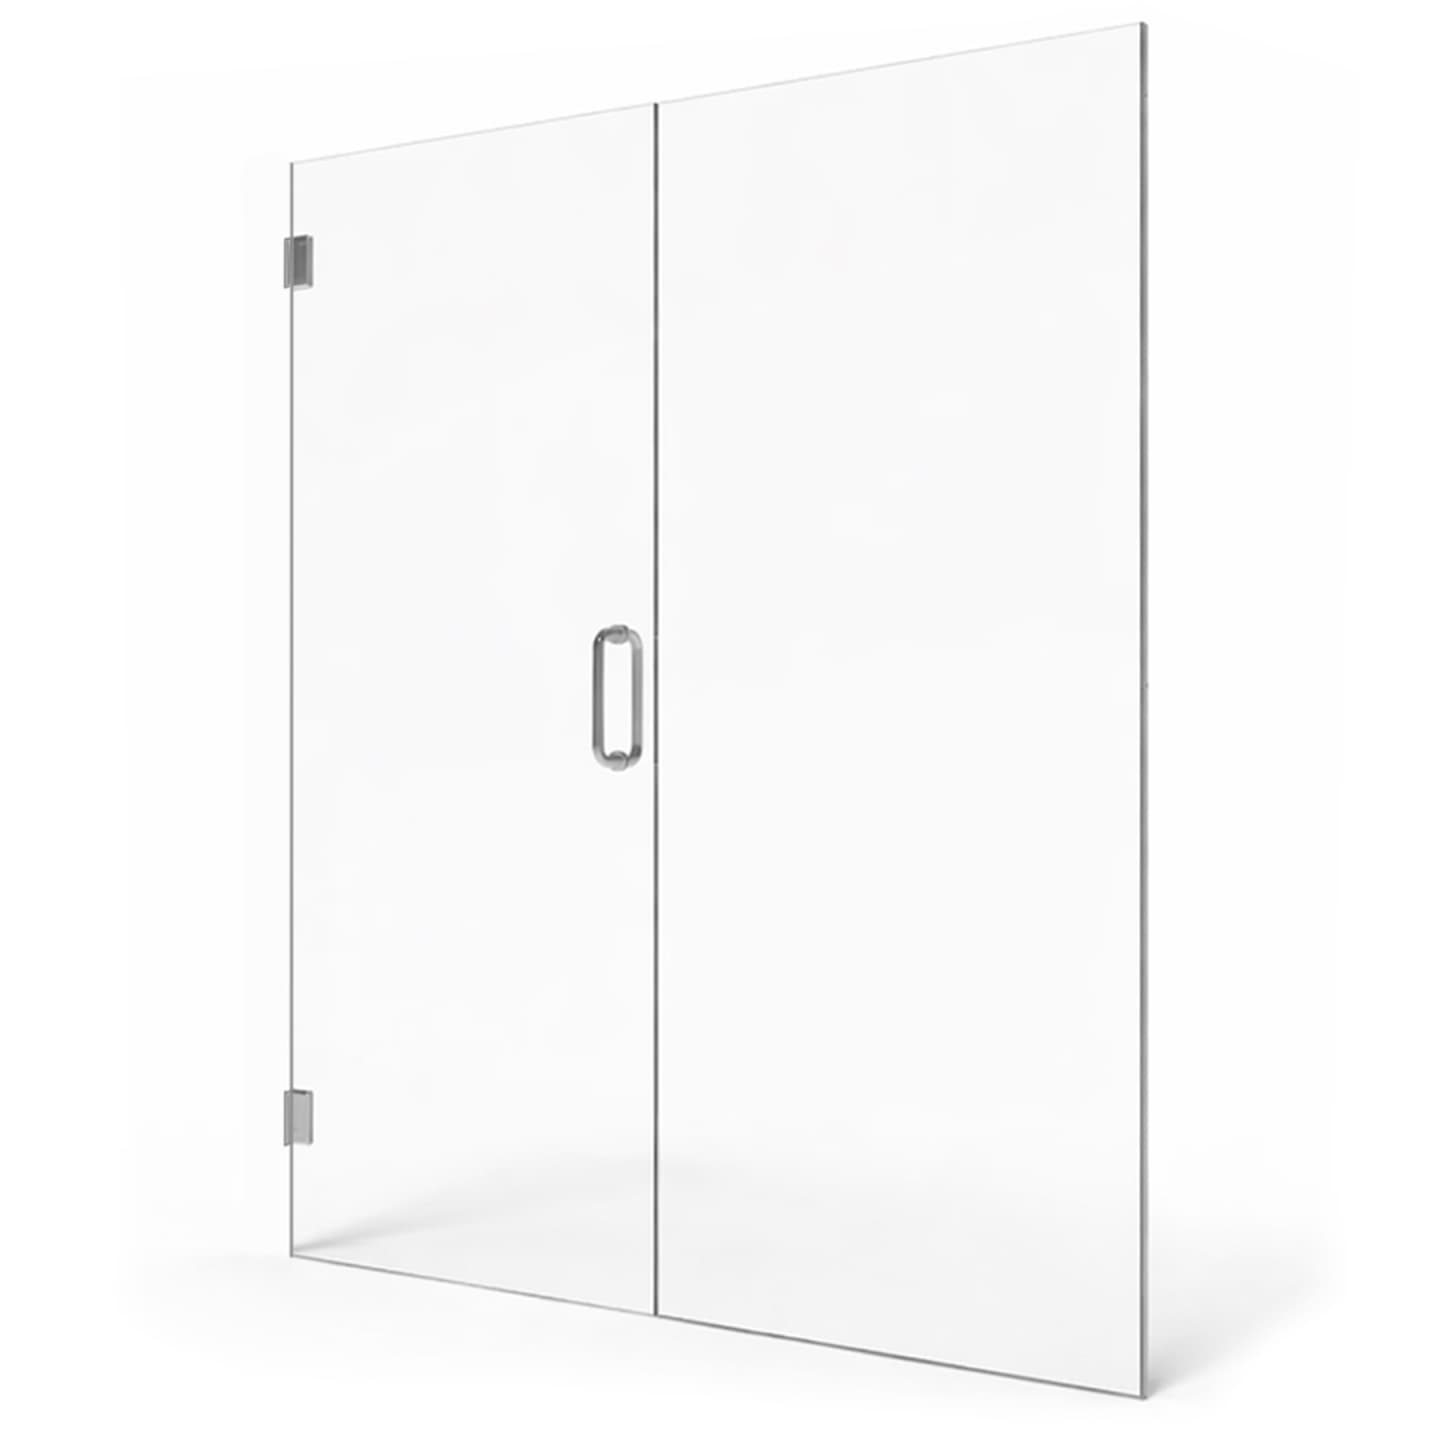
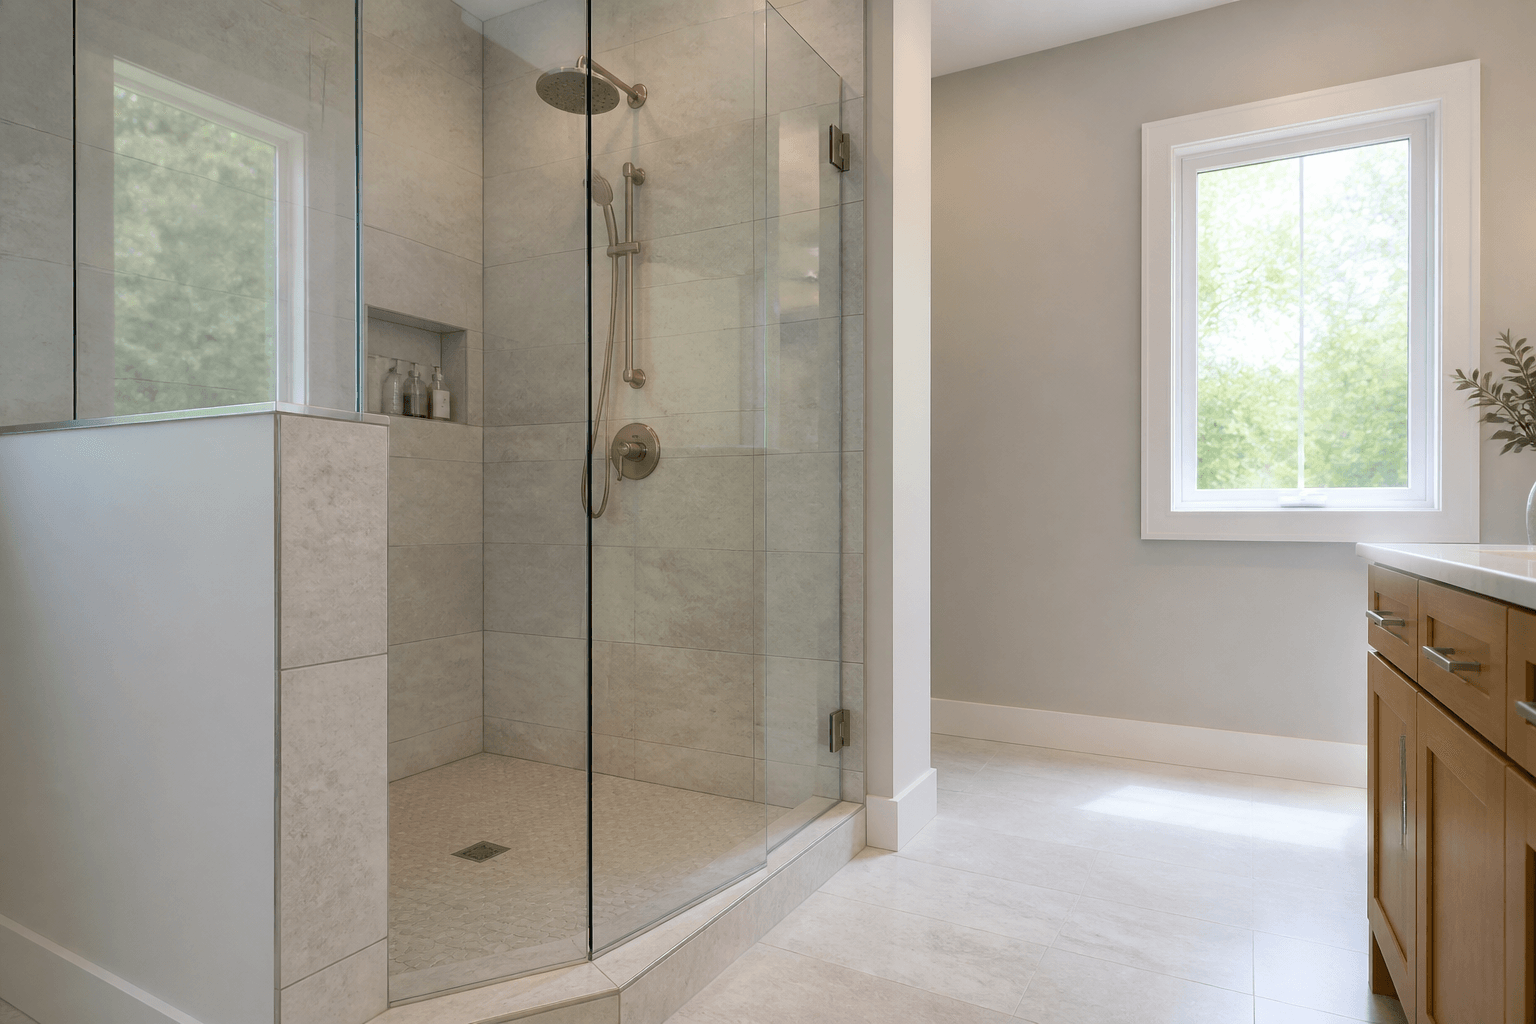
Wall tile should generally extend past the outside edge of the shower glass by about 2 to 3 inches, rather than ending directly under the glass or inside the wet area. The tile should also reach at least as high as any glass hardware attached to the wall. This arrangement gives splashing a tile-covered surface, keeps mounting hardware away from a tile edge, and creates a cleaner transition between the shower and the painted bathroom wall. The exact endpoint should be planned from the final glass location, curb width, door type, and bathroom layout.
Why should tile extend beyond the glass?
The glass line is not always the absolute limit of shower spray. Water can move through the functional gaps around frameless doors, drip from an open door, or splash around the edge of a fixed panel. A narrow strip of tile outside the glass gives that moisture a more appropriate surface than painted drywall.
Extending the tile also makes glass installation easier to plan. Hinges, clamps, channels, and other wall-mounted components need stable attachment locations. Ending tile directly at the centerline of the glass can leave hardware straddling a tile edge or sitting close to a trim profile, grout joint, or change in surface depth. Moving the tile termination slightly outward provides a more consistent mounting surface.
How far past the glass should the tile go?
A 2- to 3-inch extension beyond the outside face or edge of the glass is a useful planning guideline for many showers. It is not a universal building rule. Wider extensions may make sense near a swinging door, beside a low curb, or in a shower with strong spray directed toward the opening. In other layouts, the tile may continue across the entire bathroom wall as a deliberate design choice.
- The final centerline and thickness of the shower glass
- Whether the enclosure has a fixed panel, hinged door, sliding door, or open entry
- The width and position of the curb or threshold
- The door swing and where water may drip when the door opens
- Wall-mounted hinges, clamps, channels, or header components
- Bullnose tile, metal trim, or another finished treatment at the exposed tile edge
Do not establish the endpoint from rough framing alone. Backer board, waterproofing, mortar, tile thickness, trim, and wall corrections can shift the finished plane. Glass dimensions are based on finished surfaces, so tile placement and enclosure planning need to agree before the tile is installed.
Where should tile end beside a fixed glass panel?
For a fixed panel, continue the wall tile beyond the panel's exterior edge. This is especially helpful for a walk-in or doorless shower, where the open entry allows more spray to escape than a fully enclosed design. The amount of coverage needed depends on panel width, showerhead direction, opening size, and curb or floor slope.
A fixed splash guard can reduce water leaving the shower, but it does not create a completely waterproof boundary. If the bathroom design uses an intentionally short panel, extending tile farther outside the panel can provide practical protection while visually defining the shower area.
What changes around a hinged shower door?
A hinged door requires attention to both the closed glass line and the open-door drip path. Water remaining on the inside face of the door may run toward the floor when the door swings outward. Tile extending outside the jamb can help protect the wall beside the opening, but the bathroom floor and nearby finishes also need to tolerate normal drips.
The tile edge should not interfere with hinge placement. A hinge mounted partly on tile and partly on drywall would sit across surfaces with different depths and support. Likewise, a bulky trim profile immediately beside the hinge location can complicate installation. The glass layout should be reviewed before the tile installer commits to the vertical termination line.
How should tile and glass meet at the curb?
At the bottom of the enclosure, the wall tile termination should coordinate with the curb or threshold. An abrupt mismatch—such as wall tile ending inside the curb while the glass sits farther out—can leave a small painted or unfinished area exposed to moisture. A cleaner arrangement usually keeps the wall tile, curb coverage, and glass line visually connected.
The finished curb must also be pitched toward the shower so water drains inward rather than collecting against the glass or flowing into the bathroom. Tile location cannot correct a curb that slopes the wrong way. Waterproofing and slope should be established as part of the shower construction before the enclosure is measured.
Does tile need to extend above the shower glass?
Tile does not always have to extend above the glass, but it should cover areas receiving regular spray and provide a finished surface wherever wall-mounted glass hardware will be installed. Common designs either carry tile to the ceiling or create a deliberate horizontal stopping line above the enclosure. Both can work when waterproofing, proportions, and hardware locations are planned together.
Avoid placing a clamp or hinge directly at the top edge of the tile. The hardware should sit fully on a consistent finished surface, with adequate room for drilling and sealing. Drilled openings require careful preparation because they create attachment points that may be exposed to water.
Plan the glass before the tile is installed
Even though final glass measurements are generally taken after the tile, curb, thresholds, and other dimension-affecting surfaces are complete and cured, the approximate enclosure should be planned much earlier. Decide where the glass will sit, which direction the door will swing, and where hardware is likely to attach before ordering tile or selecting edge trim.
- Approximate glass and door locations
- Finished curb or threshold boundaries
- Expected wall hardware zones
- Tile termination lines and edge profiles
- Showerhead direction and likely splash areas
- Clearance from toilets, vanities, towel bars, and entry doors
This coordination is particularly valuable in remodels, where walls may be out of plumb and curbs may not align perfectly with framing. Once tile has been cut and installed, changing the glass line can leave visible patchwork. Homeowners on the Florida Suncoast should also prioritize properly detailed wet-area surfaces because frequent shower use, humidity, and hard-water spotting make thoughtful drainage and easy-to-clean transitions especially worthwhile.
The practical rule to follow
Use the planned outside edge of the shower glass as a reference, then carry wall tile slightly beyond it and fully behind any wall-mounted hardware. Finish the exposed tile edge intentionally, coordinate it with the curb, and confirm that the door swing will not create an unprotected splash or drip area. For a custom layout, the safest approach is to review the proposed glass position before tile installation and take final glass measurements only after all finished surfaces are complete and cured.
Key Takeaways
- Extend wall tile roughly 2 to 3 inches beyond the glass in many typical layouts.
- Keep hinges, clamps, and channels fully on a consistent tiled surface.
- Coordinate the tile endpoint with the curb, door swing, and expected splash area.
- Plan the enclosure before tiling, but measure glass after finished surfaces are complete and cured.
- Tile is a finish surface; proper waterproofing and inward slope must be built underneath it.
Ready to Transform Your Bathroom?
Contact us for a free consultation on custom frameless shower doors, enclosures, and mirrors for your Sarasota home.
Frequently Asked Questions
Related Services
Suncoast Team
Sarasota's Trusted Shower Door Experts