
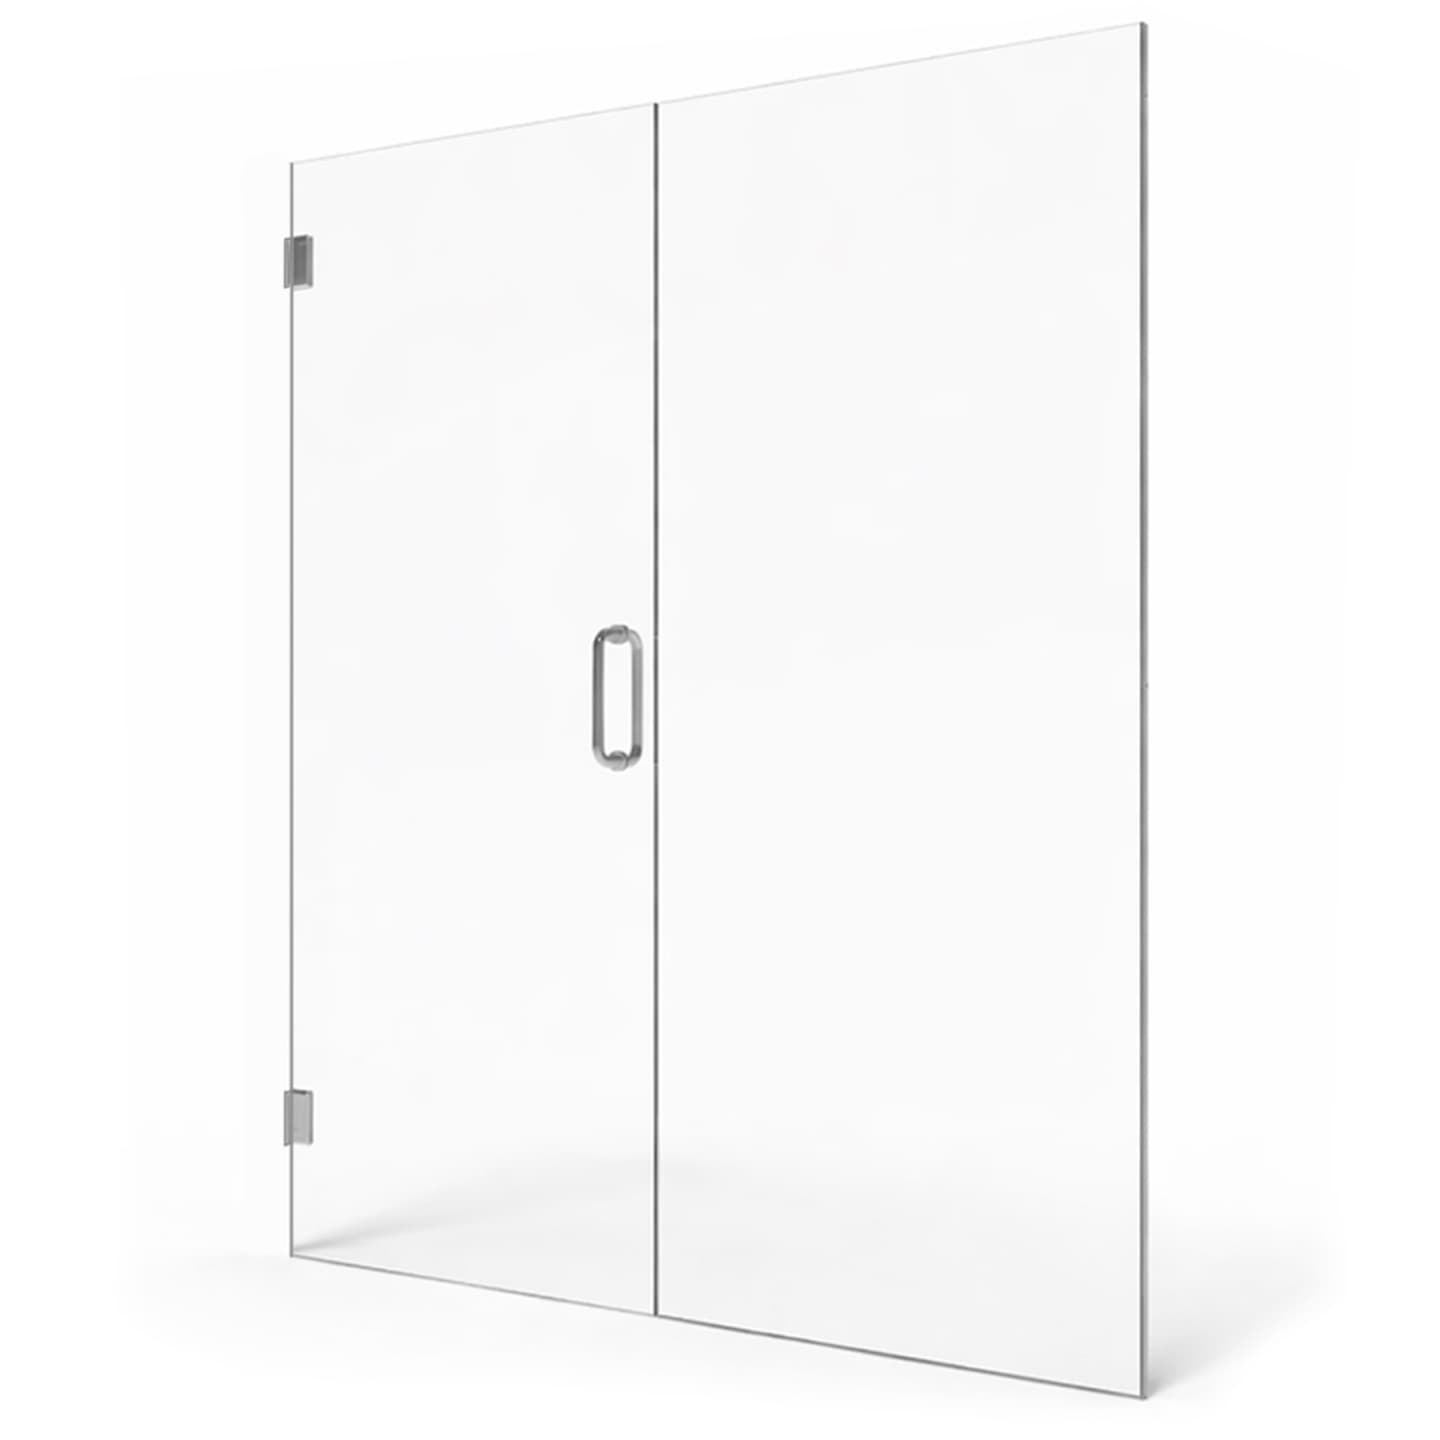
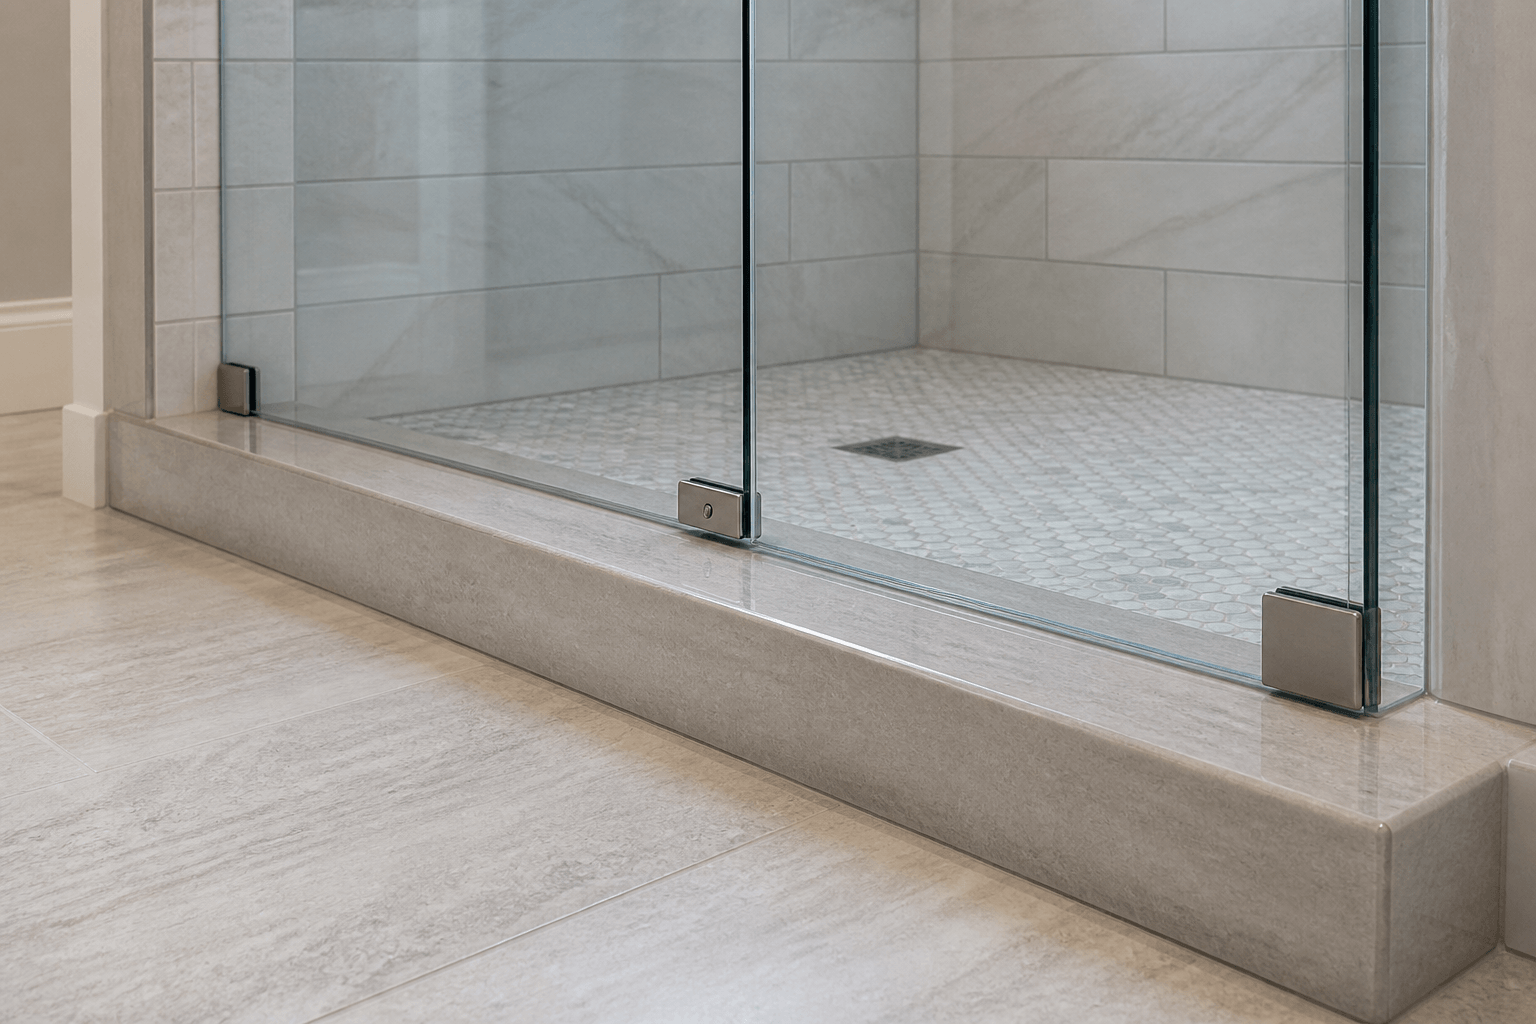
Before choosing shower glass, confirm that the curb has a continuous waterproofing system, an inward-sloping finished top, sealed corners and transitions, stable finished dimensions, and a clear plan for any glass-hardware attachment points. The curb also needs to work with the proposed door location, glass centerline, sweep clearance, and water-containment strategy. These details should be settled before final measurement because custom glass is fabricated to the completed opening and cannot correct an improperly built or poorly drained curb.
Why does the curb matter to the glass enclosure?
The curb is more than a tiled step. It is part of the shower’s water-management system and often the lower mounting surface for fixed glass, channels, clamps, or seals. Its height, width, slope, material, and position all affect the enclosure design. A frameless door may also close over the curb, so the top surface influences the gap beneath the door and the performance of the bottom sweep.
Tile and grout are not the primary waterproofing layer. Water can pass through grout joints or collect beneath the finished surface, which is why the underlying membrane must continue over the curb and connect correctly to the shower floor and walls. Glass hardware and exterior sealant should not be treated as substitutes for a complete waterproofing assembly.
Is the curb fully waterproofed beneath the tile?
Confirm which waterproofing system was used and how it wraps over the curb. Sheet membranes, liquid-applied membranes, and traditional shower-pan assemblies have different installation requirements. Mixing methods without following a tested system can create weak transitions, especially at curb corners and where the curb meets the side walls.
- How the shower-floor waterproofing connects to and continues over the curb
- How inside and outside curb corners are sealed
- How the curb meets the shower walls or jambs
- Whether seams, bands, and prefabricated corners are compatible with the selected membrane
- Whether the waterproofing system requires a flood test or other inspection before it is covered
- Who will document the completed waterproofing before tile hides it
Photos taken before tile installation can be useful later. They may show membrane seams, curb construction, plumbing locations, and areas where drilling should be avoided. A glass installer cannot visually verify a concealed membrane after the curb is tiled, so documentation and communication between trades matter.
Does the curb top slope toward the shower?
Both the waterproofed curb surface and the finished tile or solid cap should pitch toward the shower drain rather than toward the bathroom floor. A commonly used drainage slope is about 1/4 inch per foot, but the appropriate construction must follow the waterproofing manufacturer’s instructions and applicable requirements. The essential result is that water does not sit against the glass or flow outward when the door opens.
Do not rely on a bottom sweep or a bead of sealant to overcome an outward-sloping curb. A sweep can help control incidental spray at the door, but it is not designed to redirect standing water caused by poor curb geometry. An uneven curb can also create inconsistent door gaps and make seals less effective.
Are the curb dimensions and finish truly final?
Custom glass should generally be measured after the tile, curb, thresholds, and other surfaces affecting the glass dimensions are complete. Shower Doors of Sarasota prefers to measure once the tile and waterproofing-related work are fully cured. Even small changes to the curb cap, wall tile, or jamb thickness can affect panel sizes, door clearances, and hardware placement.
- The curb cap or tile is permanently installed, grouted, and cured
- The curb is level along its length while still sloping inward across its width
- The top is flat enough to support the planned channel, clamp, or seal
- The curb width accommodates the intended glass centerline
- The curb aligns with the wall surfaces where fixed panels will terminate
- No trim, stone overhang, or raised tile edge interferes with the door swing
A one-piece stone or solid-surface curb cap can reduce grout joints on the top, but it still needs proper slope and waterproofing below it. If tile is used, joint placement should be considered in relation to channels and clamps so hardware does not land awkwardly at an edge or uneven joint.
Will the shower glass require drilling into the curb?
Drilling requirements depend on the enclosure, hardware, wall construction, and curb layout. Some fixed panels can be supported with channels or hardware attached at multiple surfaces, while other designs may require a curb attachment. Avoiding top-surface penetrations where the selected system allows is often desirable, but the glass professional must evaluate the complete enclosure rather than applying a single rule to every shower.
If curb drilling may be required, the waterproofing and glass teams should discuss it before fabrication. The installer needs to know what lies beneath the finished surface, including membrane type, curb material, radiant heat, plumbing, or other concealed components. Fastener length and attachment location cannot be planned responsibly from the tile appearance alone.
For applicable Shower Doors of Sarasota installations, DoubleSil is used at drilled shower-glass hardware attachment points. This layered process incorporates protection within the drilled opening before the anchor and fastener are fully installed, in addition to the visible exterior seal. It is an added precaution, not a guarantee against every source of water intrusion, and it does not make a frameless enclosure completely waterproof.
How should the door position be coordinated with the curb?
The door should close over a section of curb that supports predictable drainage and an even bottom gap. Its swing must clear toilets, vanities, towel bars, and nearby walls. The curb must also be deep enough for the selected glass line without placing the door too close to an edge or forcing hardware into an unsuitable location.
- Whether the door swings outward only or is designed for another approved movement
- The location of the showerhead and direction of spray
- The curb’s inward slope beneath the door
- Bottom-sweep clearance and any required strike or seal
- Safe entry width and the user’s walking path
- The position of wall studs or blocking for hinges and fixed-panel supports
Spray direction is especially important in doorless or partially enclosed showers. A curb can help contain water, but it cannot compensate for a panel that is too short, a showerhead aimed toward the opening, or a layout that places the entry in the direct spray path.
What should be confirmed before ordering the glass?
Before glass is ordered, ask the remodeler, tile installer, and glass professional to agree on the finished curb dimensions, slope, membrane continuity, glass centerline, and likely attachment locations. Resolve visible chips, hollow tile, loose caps, low spots, and outward drainage first. Rebuilding a defective curb after custom glass has been fabricated can change the opening enough to make the glass unusable.
For projects in Sarasota, Bradenton, Lakewood Ranch, Venice, and nearby Suncoast communities, humidity and frequent shower use make careful water management particularly important. Once the tiled opening is complete and cured, Shower Doors of Sarasota can evaluate the layout and proposed hardware locations. Homeowners can request a free quote through the online tool at /quote.
Key Takeaways
- Waterproofing must continue over the curb and connect correctly to the shower floor and walls.
- The waterproofed surface and finished curb top should slope inward toward the drain.
- Finish and cure all tile, caps, and thresholds before final glass measurement.
- Coordinate the glass centerline and hardware locations before fabrication.
- Do not expect sweeps, sealant, or shower glass to correct a defective curb.
- Document concealed waterproofing and communicate any no-drill areas to the glass installer.
Ready to Transform Your Bathroom?
Contact us for a free consultation on custom frameless shower doors, enclosures, and mirrors for your Sarasota home.
Frequently Asked Questions
Related Services
Suncoast Team
Sarasota's Trusted Shower Door Experts